Canning Upgrade

In my home, I have an old school stove, but it’s very old. I know when it fails I will be upgrading to a glass top. Because I do jam canning, I know I will NOT be putting those heavy canners on a glass top. Add to that, I have a really hard time dealing with such a large pot of water with my reduced abilities.

This led me down a rabbit whole looking for a solution. I found the Ball Water Bath Canner. (Not an affiliate link.)

I just happened to have it on my price watch and found it had gone on sale for $174. It’s normally $234. That’s $60 off. I am all about the sale. Camel Camel Camel price watches said it was the lowest price, so I scooped it up.

It’s very weird to be in a situation where I have a permanent home. I’ve moved so much in rentals that I was never able to justify owning something I only used once a year. We often lived in super tiny apartments to keep rental costs down. Owning a home means we are now buying the things we want because we have space. I would have never bought such a large item in a rental.

Initially, I was worried about this water bath canner because it’s electronic. You can toss your jars in, and it thinks out all the timing for you.

However, it worked just fine after I figured out how to do it. It was super easy, and for someone that’s partially disabled? Being able to use the pour spout to get rid of the water afterwards was amazing. No more trying to haul it up and over to the sink. That was always a dicey proposition for me.

Here she is, in all her glory.

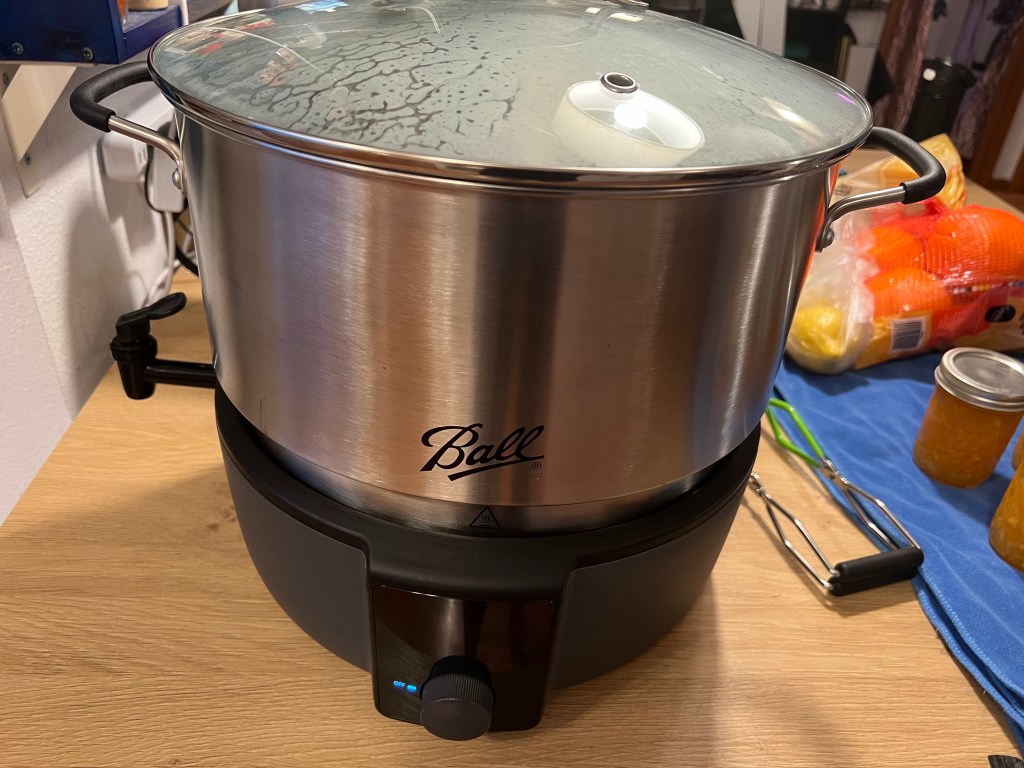
My only real concern is that water spout sticks out a lot, and I was worried long term storage might be an issue, so I stored it in the box it came in to prevent accidentally snapping it off. I would not want to ruin my jammy investment.

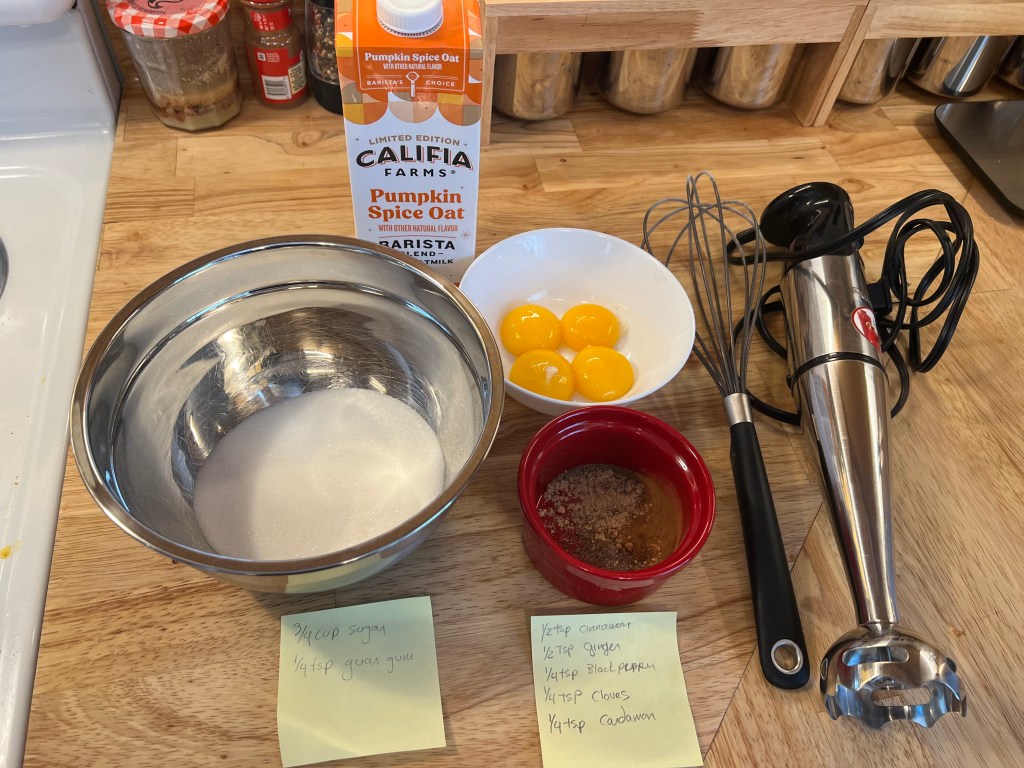
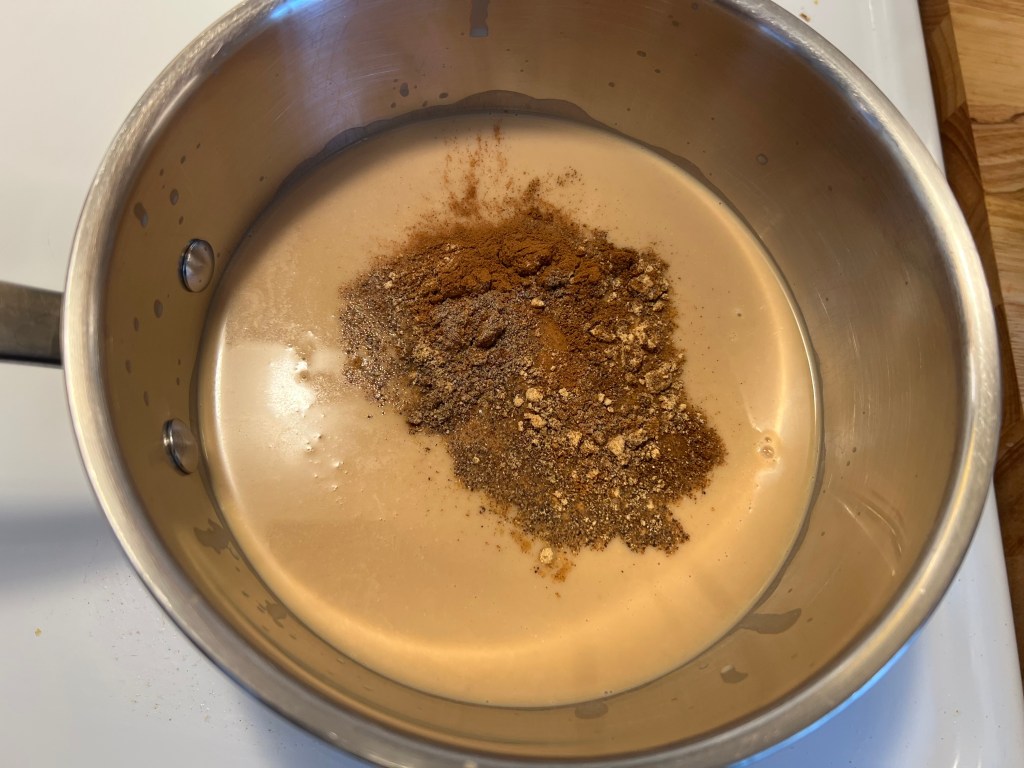
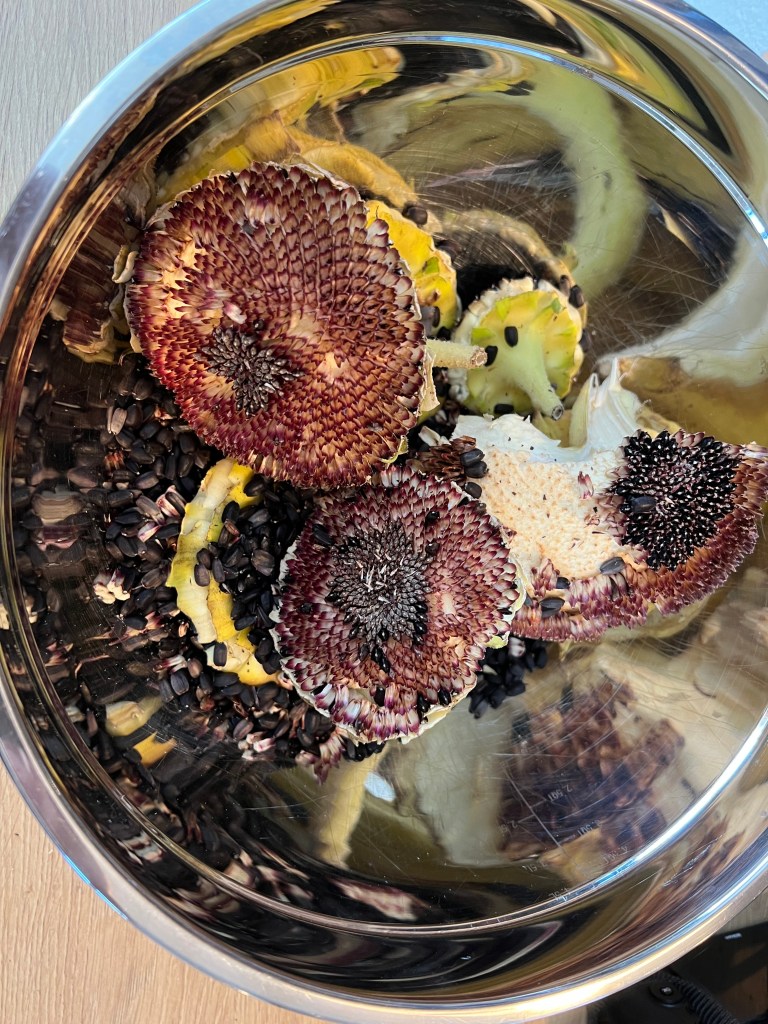
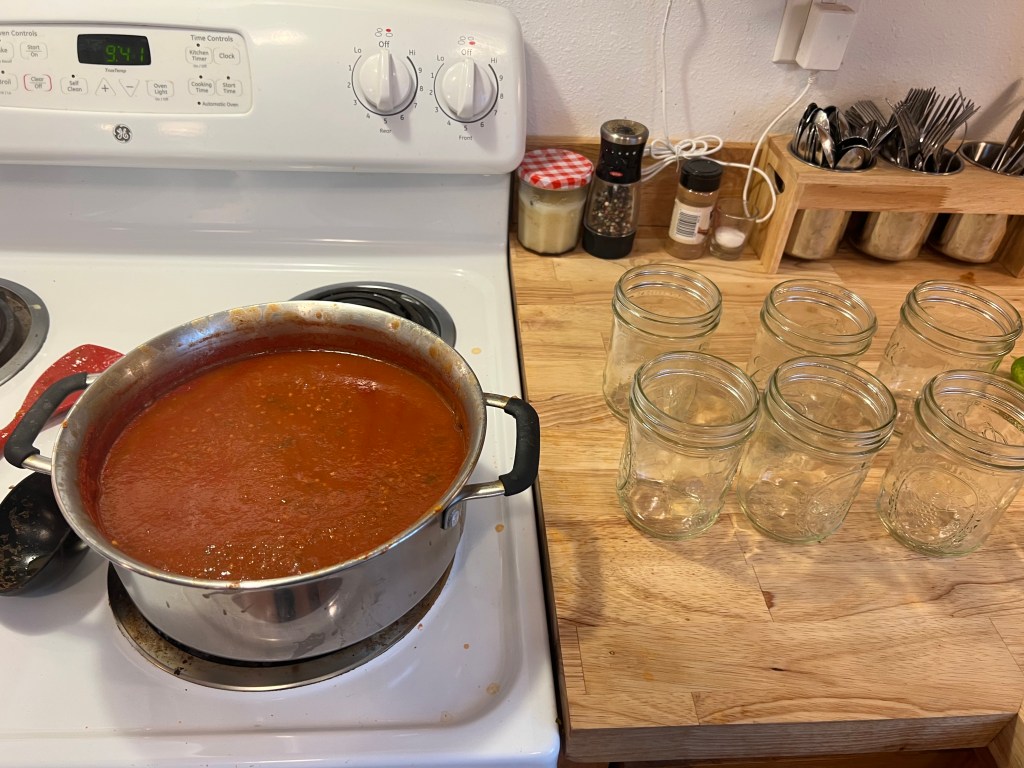
Since I now had this, I decided to make some marmalade. My wife loves it, and I have never done it before.

I used this ball recipe.

It says it makes 6 (8oz) half pint jars, but I ended up with 9. My oranges were HUGE.

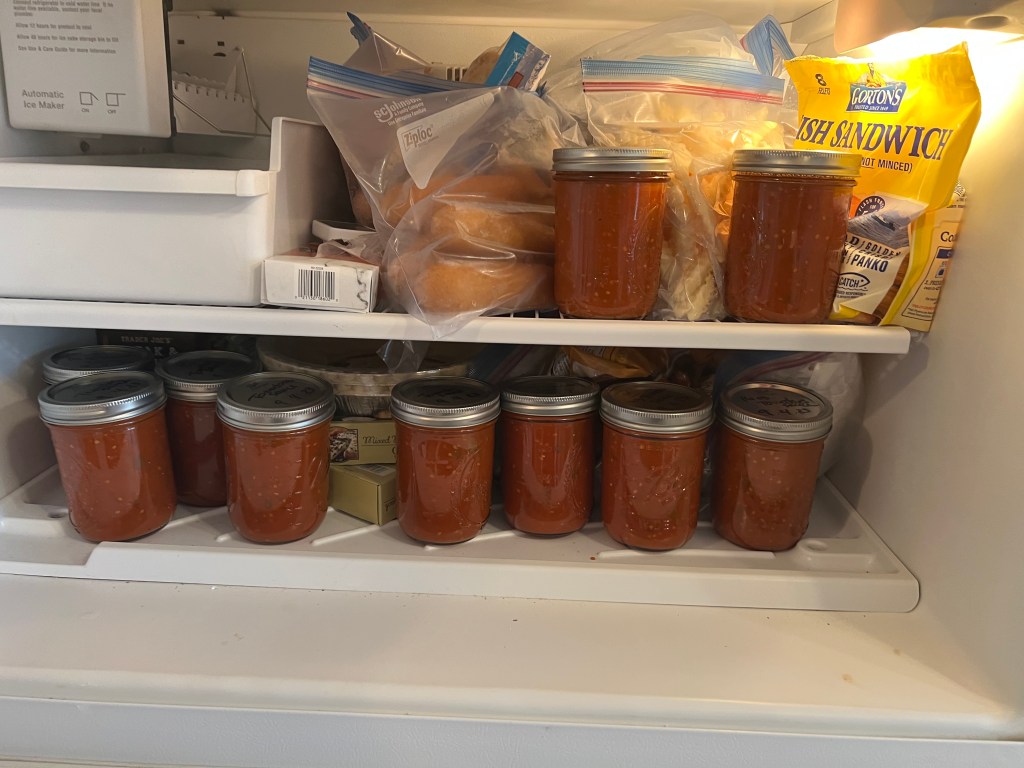
I prepped 8 jars, and just used the 9th straight to the fridge.

Marmalade!

My experience with the Ball electric water bath canner was good. Once I let go of my worry about the process it really did simplify things for me. I was impressed that my prepped jars just hung at the right temp indefinitely. Every little bit it would remind me they were ready, but it held them just fine.

I found it easier to deal with due to my disability than a regular water canner. Just being able to pour out water into a pan when done was so much easier. If you aren’t that strong, or have issues effecting your ability to haul a giant pot around, this is not a bad solution.

I have not tested the giant steamer option, but that’s an option too. Maybe someday I will make a stack of bao rolls in it. It’s sized well for steaming big batches.

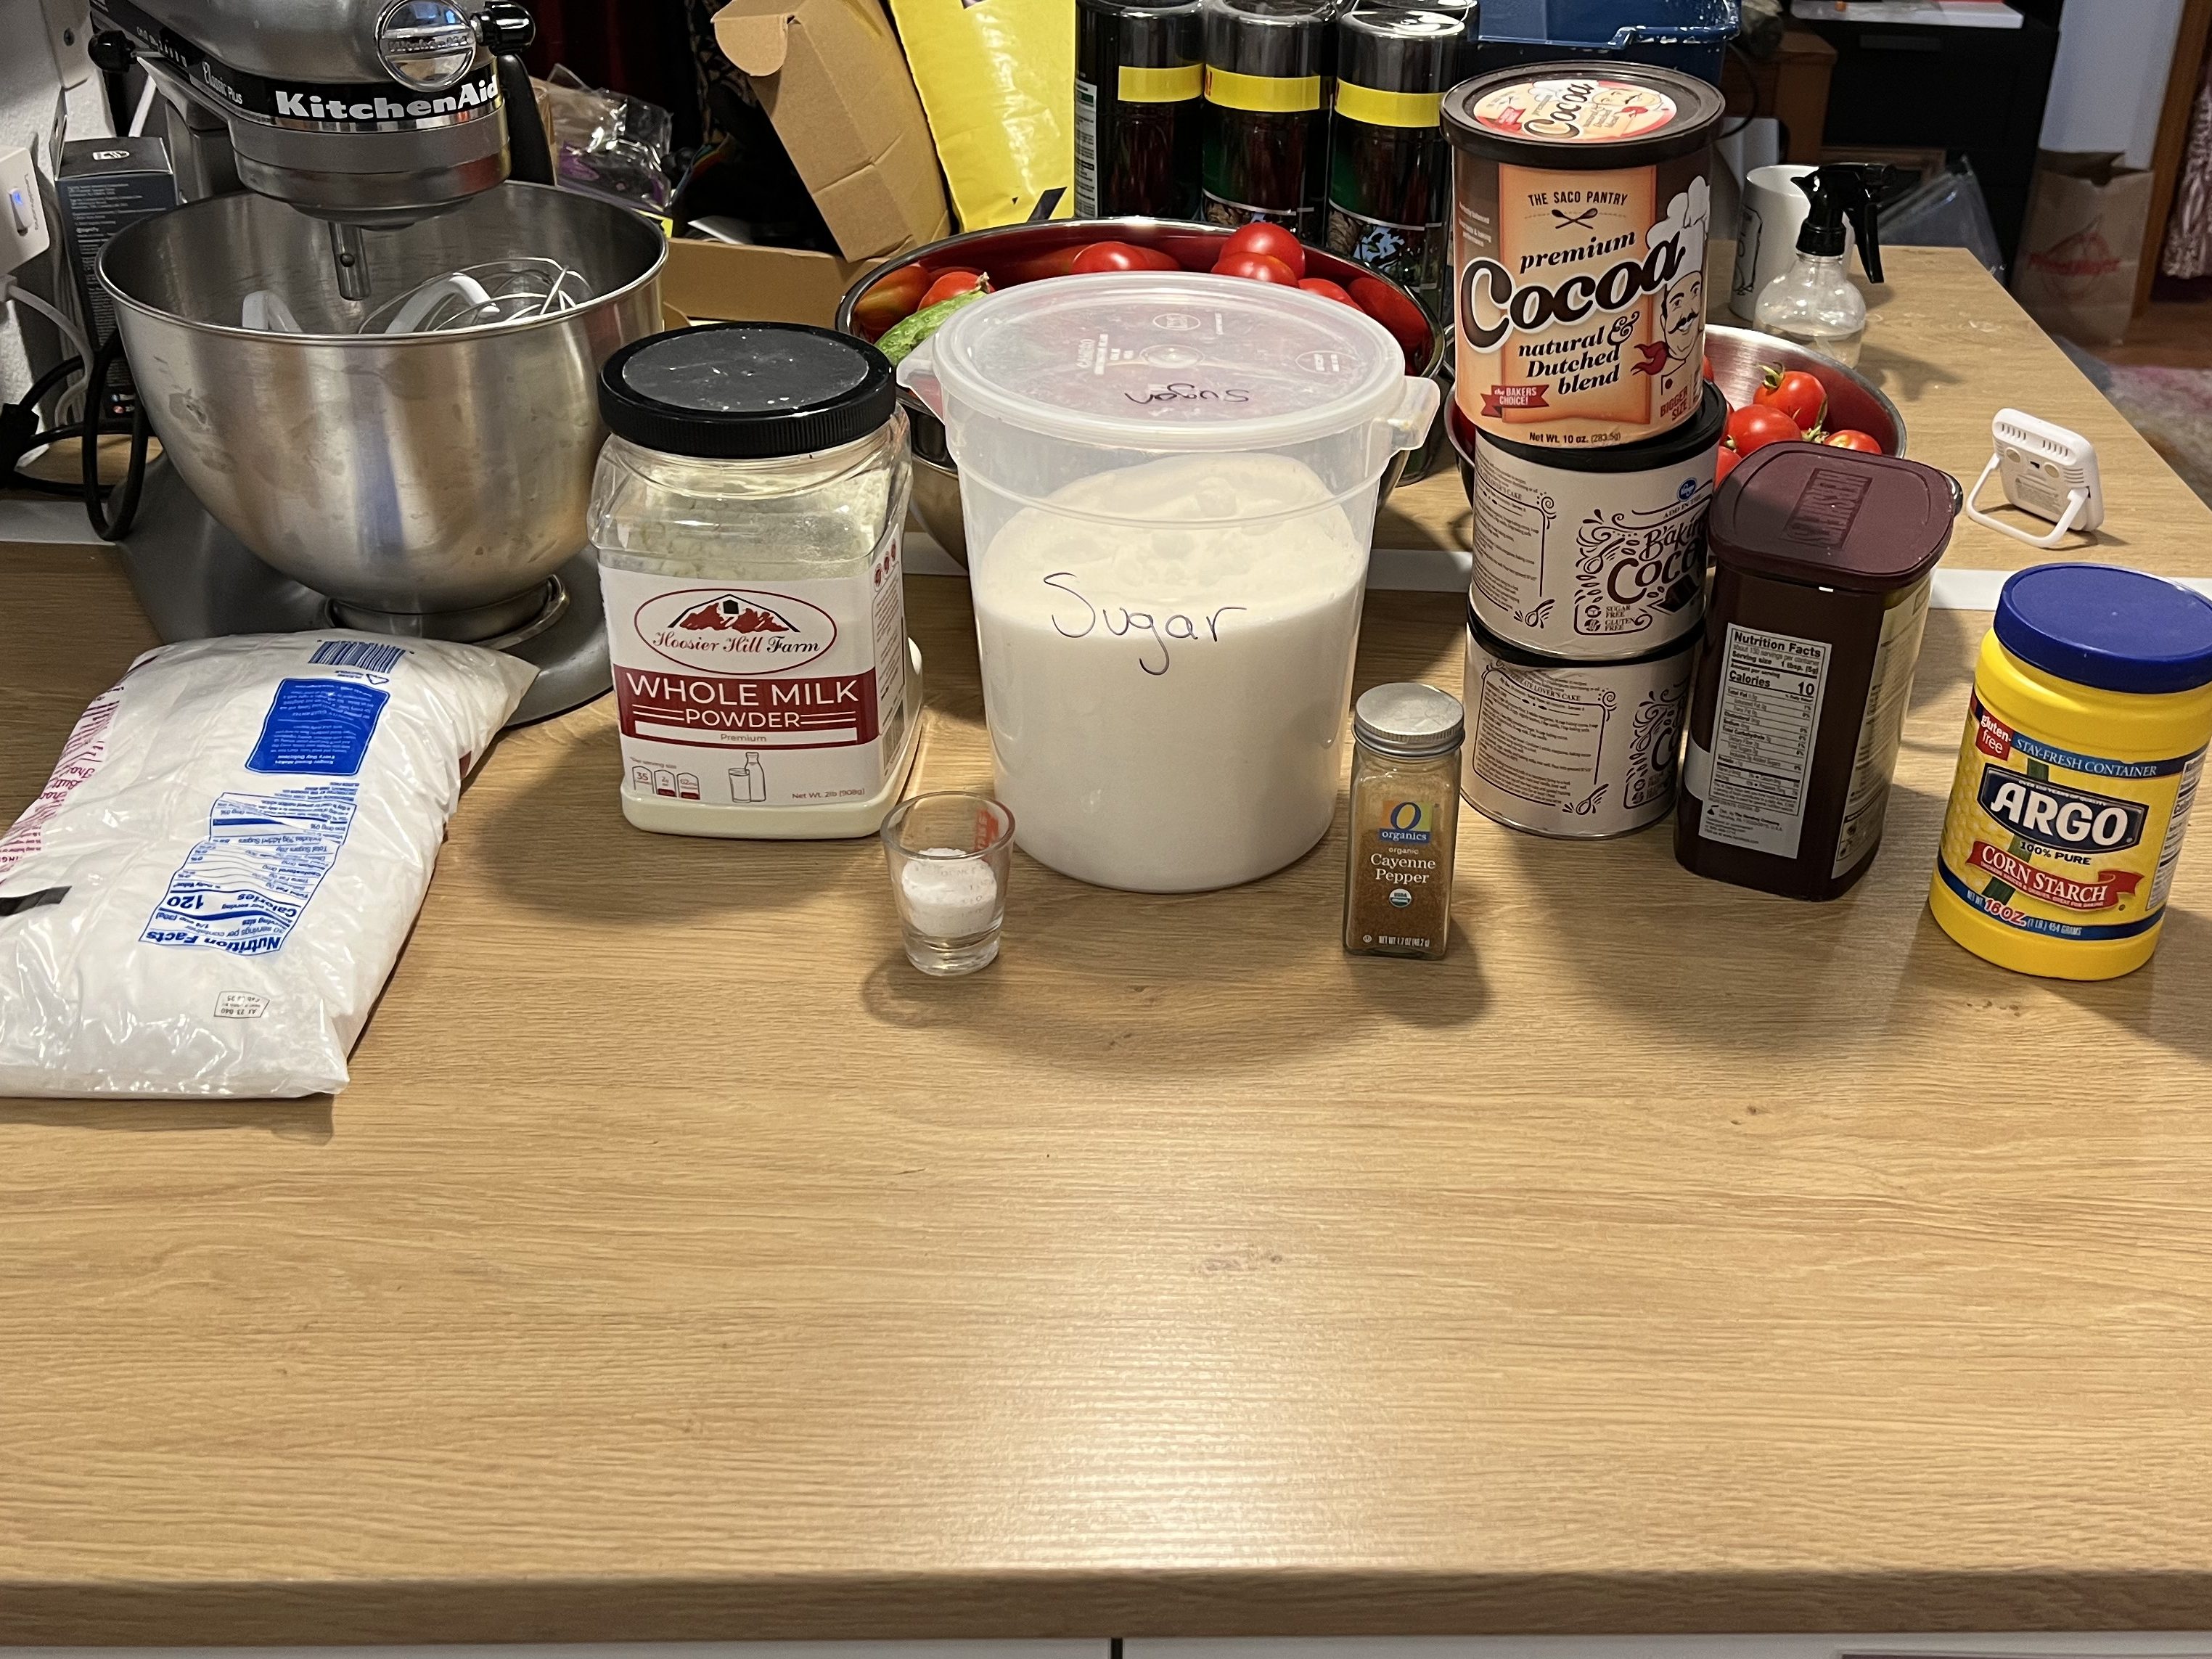
The recipe was good too. If you’ve never made marmalade before, be prepare for lots of prep work. Chopping peals, removing seeds, and prepping the fruit. It takes a while.

The recipe is nice, but the jam is a little less stiff than I’d like, but still amazing. It is a little bitter? Not bad at all, but if you are sensitive to that, you might want to prep your peels differently.

Over all, this was a great purchase, and it worked really well. If you can’t lift easily, and this is well worth it.

Chai Oat Milk Ice Cream

I completely forgot about this post while I was removing from surgery. Just totally left my mind. I wrote this about mid to late March 2024. However, I think the ice cream was great so I am still posting it!

I would love to be out in the garden starting for this year, but I had surgery at the beginning of March. It’s really thrown me for a loop, so while I recover I have been puttering around inside the house.

Today’s project was turning a box of chai oat milk into ice cream. We bought a case of this oat milk last fall at Costco, and this is my recipe for the base I’ve been working on. I am trying to keep the ice crystals at bay for texture. It works pretty well.

Ingredients:

I like to lay everything out before I start in case I am missing an ingredient.
  • 4 Cups Chai Oat Milk, or one full carton.
  • 3/4 Cups Sugar
  • 4 Egg Yolks
  • 1/4 TSP Guar Gum
  • 1/2 TSP Cinnamon
  • 1/2 TSP Ground Ginger
  • 1/4 TSP Black Pepper
  • 1/4 TSP Cloves
  • 1/4 TSP Cardamon
Adding all the spices into the oat milk.

Directions:

  1. Mix the guar gum into the sugar thoroughly.
  2. Heat oat milk in a sauce pan.
  3. When it’s warm, add the sugar and guar gum with an immersion blender to ensure it’s not going to clump on you.
  4. Heat milk to hot, but not boiling.
  5. Temper the milk into the eggs in a separate bowl by adding spoonfuls of hot milk into the eggs while whisking, then when the egg yolks are good and hot, add them slowly back into the saucepan with the rest of the milk while whisking it in. How to temper egg video if you need it.
  6. Continue heating for 8 minutes, but don’t boil. Whisk regularly.
  7. Strain the resulting mix into the bowl. You’ll want to strain out any random clumps and eggy bits or escaped guar gum.
  8. Cool on ice until room temp, then put into the fridge until completely cold.
  9. Use the ice cream maker of your choice.
Tempering the eggs.
My high tech cooling method.
This is my overpriced ice cream maker. If you got the cash to spare, I do recommend it.

Notes

I have been doing a lot of test recipes for ice cream ever since I got my Whynter Ice Cream maker. That’s not an affiliate link, I just liked it. I just wanted an ice cream maker that had its own compressor. It’s a $300 machine, but I was so fed up with store bought ice cream getting weird I threw down the cash on a serious ice cream maker. Plus, getting non dairy ice cream is expensive and never that good.

It’s as if all the corporations out there are hell bent on saving that last tenth of a cent on everything despite all the record profits they rake in from our consumption, so the ingredients are getting cheaper, and the taste is crappier. I never thought I would have nostalgia for junk food from the 70s and 80s, but here we are.

This ice cream maker has its own compressor so you don’t have to freeze anything. You just toss your ice cream mix into it, press go, and it goes. I never have room in my freezer, nor can I organize when I will make ice cream, so this saves me from having to pre-freeze a bowl. This one has a yogurt maker option, but I haven’t delved into yogurt making at this point in my life. It’s extravagant, but now that I live in a home I own, I can actually pay for things and expect to keep them long term, instead of however long I have that much space in my rental.

I tried this recipe without the extra spices first, but the cold dulls the chai flavor, which wasn’t that chai forward to begin with. I like a chai that bites back, so I added the spices in from my favorite chai recipe. I think I could have honestly doubled the amount, but it’s still quite good.

I have also been experimenting with stabilizers, and I have found without the guar gum, you get a very icy crystal texture to varying degrees. The eggs are also an ice cream stabilizer, but I find without them, you don’t get a rich ice cream texture and it feels thin. Together, it comes out pretty good. This has worked with milk, cream, and now oat milk as my base.

The Sunflower Project That Wasn’t.

I grew sunflowers because I like them, and honestly from a pollinator standpoint watching all the pollinator bees, and the humming birds with them was fun and amazing. I did not set out to plant them for harvest, but I thought since I had them I would try it.

It came to the end of their lifespan so I thought I would pull some for harvest.

Some of the heads are starting to die, and brown up.

I cut some of the dead flower heads off, watched a couple of videos on YouTube on how to harvest sunflowers and got to work.

The not so fun harvesting process.

I rarely ever give up on a project after I start, but first I noticed you have to wear gloves because they are so sticky, and soap and water does not get it off easily. So ewww.

Second, the pattern in the heads of the sunflowers really ick out my wife, so that’s not good to have sitting in the kitchen.

Finally, it is tedious, and slow, and annoying.

All that combined, means I just gave up. It’s the first garden related project I just gave up on.

When I can get a pound of organic, shelled, sunflowers from Trader Joes for $2.99, and I can’t identify any real flavor difference, then I am not really into spending HOURS on shelling these and processing them.

I think I will keep my sunflowers to just decorative from now on.

Instant Hot Cocoa Mix Recipe

I don’t really drink caffeine much at all. I used to drink coffee when I was young, but then I switched to tea when the caffeine was getting to me. When that was a lot I stopped that too, and now I like a hot beverage in the morning, but not the caffeine. I drink cocoa instead, and yes it has a smidge of caffeine, but not enough to trip me up.

I also don’t have much of a sweet tooth, so most commercial mixes are way too sweet for me. I do it when I eat out for breakfast, but on the day to day breakfast? I prefer less sugar. I feel like everyone is competing for the sweetest hot cocoa mix.

I also like a bit of heat in my cocoa, so I make mine with cayenne pepper. Just a tiny smidge.

This started as an Alton Brown recipe, but it’s since been tinkered with to fit my needs.

I like to lay out all the ingredients out before I start in case I miss one. Ignore the batch of tomatoes. They just keep growing, so I need to make more tomato sauce. Also ignore I have four tins of cocoa powder. We kept buying it and opening it, and now I have like three half tins and a full one.

Ingredients:

  • 5 Cups whole Dry ilk. (No Nonfat! It won’t work right!)
  • 4 Cups Powdered Sugar
  • 1 Cup White Sugar
  • 2 Cups Cocoa Powder
  • 4 Tsp Cornstarch
  • 2 Tsp Salt
  • 1 Tsp Cayenne Pepper

Directions:

  • Toss it all in a bowl, and mix with a whisk.
  • To use, put 1.5 TBSP, or one heaping spoon full in your mug, and fill with hot water.
  • Adjust everything to taste.
Whisk a lot to make sure it’s incorporated, but carefully so you don’t toss powder all over the kitchen.

I was worried about calories because that is a lot of whole milk, but I put it in MyFitnessPal.com, which isn’t 110%, but it turns out it comes to approximately 46 calories for 1.5 TBSP of the stuff, so go wild. The lowest calorie packet I could find was a generic Winco packet for 110 calories so this beats the pants off of that.

I converted everything into tablespoons for the recipe and at 1.5 TBSP for each serving it comes to about 130 servings, in case you were wondering. I make this up every few months.

This is a screen shot from MyFitnessPal’s recipe calories screen.

Lastly, be prepared for storage. It makes a lot.

Finished mix in containers and one cup of cocoa, and a thumb in the lower right corner because I have fat fumbling fingers. I keep the ball canning jar on the counter, and the rest in the cupboard out of sight.

I’ve been doing this for years now, and honestly I even take it with me when I travel. Trying to get a non caffeinated option at a hotel is stupid hard for some reason. I just pack it up in little bags and add water.

Frozen Tomato Harvest

I did some tomato sauce processing this morning. I actually had two big giant batches. I had my dutch oven and my big pot going together at one point. The pictures below is after I cleaned it mostly up and it was just simmering down with the last batch. There was tom sauce literally everywhere before I cleaned, so I’ll keep that mess as a memory snapshot.

Toma Toes sauce and jars waiting to be filled.

In hindsight, with ten 16oz jars I could have canned it up, but I think I need more research. Since I don’t eat onions or garlic because they are my mortal gastroenterology enemy, it makes finding approved and safe recipes harder. So many of them have so many onions in them.

I also don’t really want to add any acid to them, like you would do with water batch or pressure canning, because my wife has GERD already. I don’t need to throw more fuel on that fire.

Instead, I just blanched them like before, and peeled and cored out the stems. I then just cooked them down. I initially mashed them with a potato masher, and when I had cooked them down to a close to desired thickness, I used my immersion blender to blend the remaining solid toms, and some basil and green onions in from the garden. (Green onions don’t have it in for me, so I can reasonably eat those.)

Then I just filled the jars, labeled and froze them.

Tomato sauce filling 16 oz jars.

I am initially freezing them in the house freezer, but then I will take some out to the chest freezer later, as I won’t have to worry about them falling over then.

Ten jars of Toma Toes sauce waiting to freeze in the freezer. Also, so many Costco corn dogs. So so many.

My last task fo the day is reheating some of the pickle brine I had left over from last time, and doing one last 16 oz jar of pickles with the last of my cucumbers from the garden.

Brine and cucumbers slices waiting to become refrigerator pickles.

I did not get a big enough harvest of these, or enough at one time to even bother with canning pickles. Refrigerator pickles work just as well, and are just as good.

Now, that I am done, I am going down for a good long nap. I am still exhausted from surgery. It’s very true, when you get over 50, these things take longer to come back from.

Incoming Tomatoes!

So many tomatoes.

There are only two of us in my household, and one of us had GERD and does not eat tomatoes much at all. That’s a lot for one, and maybe a half person at best.

I have a lot of toms coming up in the garden. This is after giving a big bag away two both my side neighbors. There’s more coming. It’s by far my most successful crop.

However, My experiment with freezing them was kinda sorta successful. They are so filled with juice, that a 16 oz frozen can of whole tom’s is more like an 8 oz can with another 8 oz’s of juice.

So I am going to cook it all down in a giant pot of crushed tomatoes and freeze it after I have cooked out some of the juice. It’ll take a few hours, but at last when I pull a 16 oz jar from the freezer, I will have something that will be usable like a 16 oz store-bought can without additional fussing.

I’m going to do the same boil and skin process before, but instead of tossing them directly into jars, I will toss them in a pot to cook down.

You know, once I go out and collect today’s pile, to add to this.

Refrigerator Pickles

My cucumber plants had a lot of flowers, but not so many cucumbers. They are proving more challenging than my other crops. I just am not getting enough cucumbers to be worth trying a full canning attempt at pickles.

I feel like my plants are trying to sneak cucumbers at me when I am not looking so they can die off too! I swear I will be out every day just looking, and BOOM! one day there is a big cucumber, that literally wasn’t there the day before. I have had two giant version show up out of nowhere and I am sure I didn’t miss them.

I got a few little ones and a big one today, and so I decided to make Alton Brown’s Kinda Sort of Sour refrigerator pickles.

The only alteration I made was two use dill seed instead of celery seed because that is what I had on hand. I am recovering from eye surgery, so I am not into going to the store right now.

Three jars of pickles and one of brine.

I made way too much brine, with a double batch, so I am just going to refrigerate it and save it for the next few cucumbers that come up. This three jars will add to the other two I made last week before I went into surgery.

I know my wife will be happy. She loves pickles, and I just don’t think grocery store pickles have much of a flavor at all. These do, and I am sure it’t because of the apple cider vinegar and the spices used.

I am experimenting. The first two jars I made last week, I weighed down with my sauerkraut weights, and these I am not. So I will see how it all turns out.

That’s all I am up for today. I’ll go back and nap as I let my eyes heal, but at least I will have pickles waiting for me when I am up and about again.

Unintended Consequences

I was cooking some cabbage stir fry for dinner. It’s the same red cabbage from the garden. It was all good until I added the wine and the cabbage went from bright red to dark indigo blue/black.

It tastes the same, and is good, but it sure looks funky.

In all my years cooking I have never had this happen. Apparently the acids evaporate when you cook it, and it can turn blue. They say you have to add lemon or vinegar to turn it back.

I over did the cooking I think. Notes for next time, I guess.

Air Fryer Grilled Cheese

I wasn’t sure what to do for lunch today, but I had some garden grown red cabbage and some leftover feta cheese.

I decided to make air fryer grilled cheese sandwiches. I like doing them this way because I can toss two of them in the air fryer at a time, and they have a very crunchy exterior and soft interior that just is melty perfect. Then my wife and I get them both at the same time.

All the fixings for grilled cheese. Tally is the background judging me.

I assemble the grilled cheese right in the fryer basket. For these I did a layer of cheddar on my buttered bread than sliced up little diced cubes of feta to lay on top, before topping it with another layer of bread. This is some sort of sourdough sandwich bread.

Two assembled grilled cheese in an air fryer just waiting to be grilled.

I toss it in for 350F for 5 minutes, flip them over, and 380F for 6 minutes. Then I pull them, slice them and they are done.

The Cole slaw was super easy, too. I just made the slaw dressing as follows:

  • 3/4 Cup mayo – we use low fat.
  • 3 TBSP Apple cider vinegar – I prefer Braggs
  • 2 TBSP sugar
  • Salt and pepper to taste.

I mix that up and keep it in the fridge and just toss it in a bowl with some diced red cabbage from the garden. It’s a favorite in our house. I usually keep a container of this slaw sauce in the fridge at all times. It’s also tasty on carrot sticks.

Two plates with the grilled cheese, slaw, and sugar wafer cookies.

This literally takes me about 15 minutes to make. I keep diced cabbage in the fridge with premade slaw sauce, and that way I can toss it together on a work day, and then go back to tying out financials to source documents with a nice hot meal in front of me.

You can’t have this in an office environment! Well, I mean, you are not supposed to. We do have a forbidden panini press hidden in the closet that my coworkers and I use in the office, but this is much less likely to get me in trouble.

Change of Plans – From Canning to Freezing

One weeks garden harvest of tomatoes. Ignore the random cucumber, it’s for a sandwich.

First issue, is this is over a week of my tomato harvest. If I wait any longer to do anything with them, I will lose them. It’s just not worth canning up 1 or 2 jars at a time. Second, I have a few dietary restrictions that make things challenging.

Somewhere around my late 40s I just stopped being able to digest garlic and onions. Like full stop, does not work. I did not know what this was until a gal that was on the FODMAP diet talked about it with me. I am not a speciality diet kind of guy so I had always assumed this was another weird fad.

Turns out, it is not. I have an issue with garlic and it has a vendetta against me that is biblical in proportions. Onions, are a close second. I just can’t eat them anymore which sucks because my favorite soup is French onion soup, and I don’t think I cooked with out garlic and onions since I was 16 years old.

Turns out the FODMAP thing has some elements that work for me, so while I do eat out and end up with garlic in my food I use Fodmate and that keeps it to a low rumble, literally. I don’t want to make my own food with garlic or onions at all though.

This is one of the reasons I really prefer to cook at home. It’s just easier to keep garlic and onions out of everything that way.

This complicates things for me when I do canning with approved recipes. A lot of the tomato based recipes are like 50% onions. It’s easy to omit the garlic, but not so much the onions. I am so new to canning I just don’t feel safe water bath canning anything not in my books, either. I just don’t want to adjust recipes.

My garden has a lot of tomatoes, but when I looked up the Ball book recipe it would take 2 and 2/3 pounds of tomatoes for each 16 oz canning jar for the crushed tomato recipe. That’s the only one that doesn’t have an overwhelming mass of onions. Canning for 1 or 2 jars just doesn’t seem worth it.

So this morning I switched gears, and looked up freezing. I have a chest freezer, and turns out you can freeze your canning jars. Everything I have searched for says they will retain flavor for 12 months, but some folks say they have used them from the freezer up to 3 years later.

All this means, is when I finally get an electrician to run power to the shed, I will be buying a much larger freezer for in there.

Processing tomatoes for freezing. Finished tomatoes on the left, a boiling pot of water, cored tomatoes on a towel, and a batch of ice water with recently boiled up tom’s, and finally a cutting board with recently cored tomatoes.

This took me like 20 minutes total to do. I cored them, boiled them for 1 minute, then tossed them in ice water, and peeled them and put them in my 16oz canning jars.

Four 16 oz wide mouth canning jars with tomatoes in there. Also seen is endless bags of breakfast sausage from Costco, and frozen leftover rhubarb for jamming. That will be made into a pie by the wife today, along with Costco corndogs, and some cool whip and ice cream. This is the house freezer, not the chest freezer in the shed.

I was a little worried about headroom. It said to give an inch so I was hoping I left enough? I crammed them all in, and it looked good. I checked this morning, and it froze beautifully. Like now when my wife makes Indian and needs a can of tomatoes, we have them. I think we use them in curries most of all, so this is exciting. I am ecstatic to have my own food that I grew ready to use.