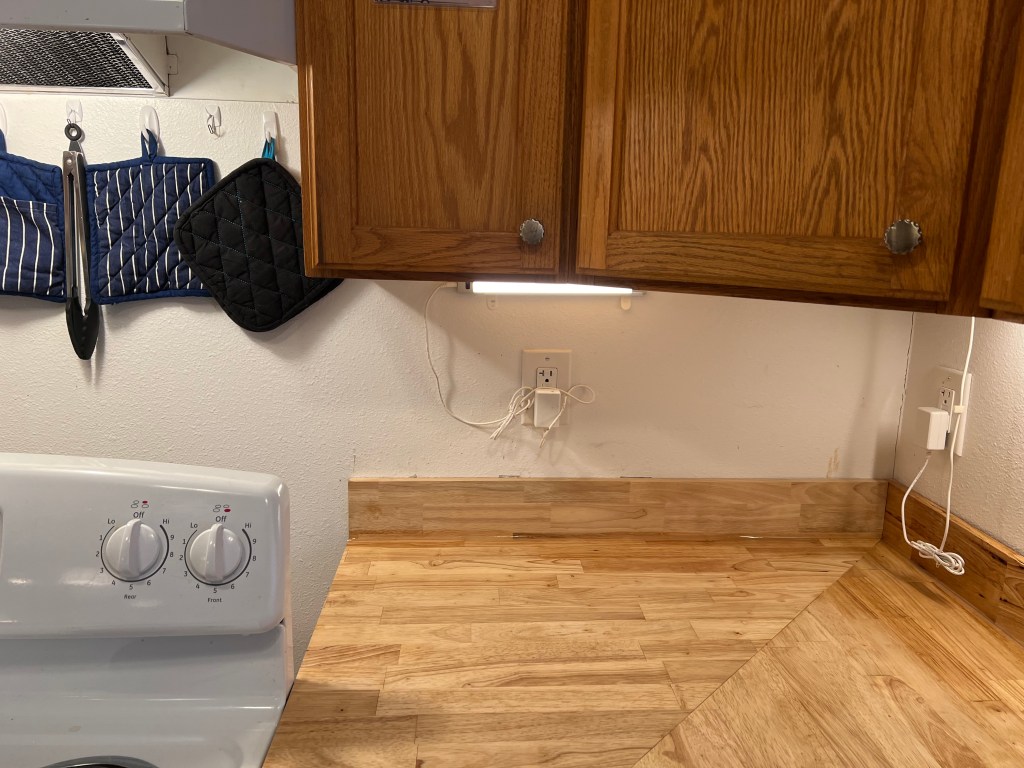
While I did the wooden butcher block backsplashes, I wanted to extend the backsplash upwards a bit. I cook a lot, and it includes things like canning jam, and frying up things. My kitchen runs hot and heavy, and I would just like to be able to wipe down the walls behind my counters easier. From experience, it’s nicer to have an easy to clean surface.
My first attempt was to buy some self sticking backsplash tiles off amazon. (Not an affiliate link, I don’t have affiliate links.) They said stickers, and I guess they really were, because I would not use them for a backsplash. They also weren’t sticky enough that I trusted them to stay up. Surprisingly some of them came with a pinkish background, so not the colors I was going for.
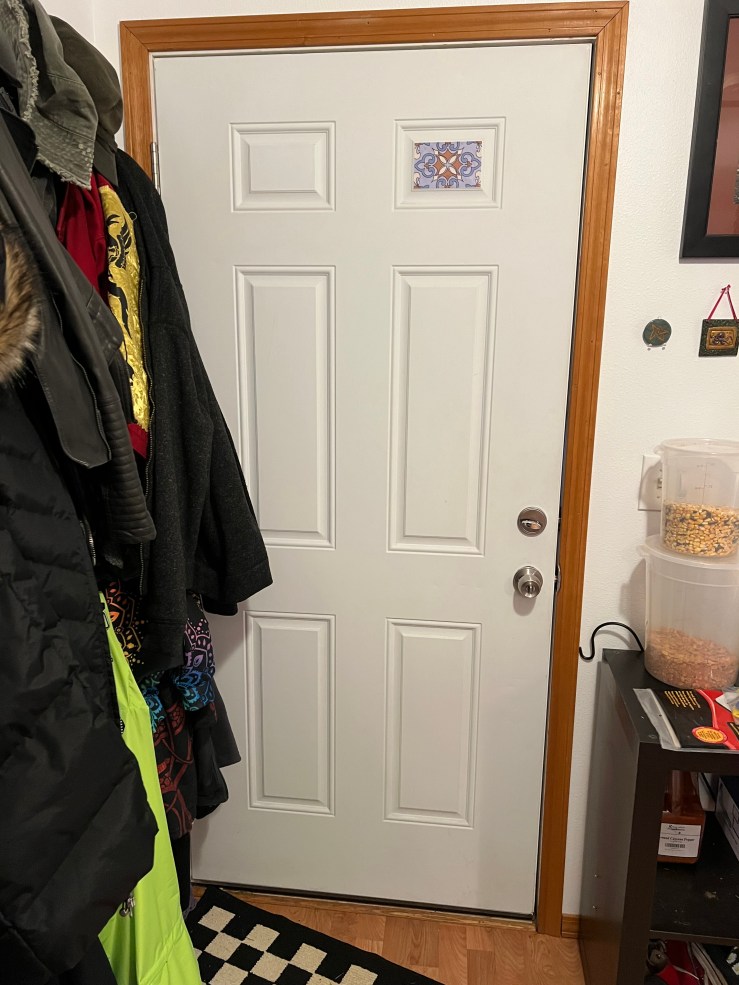
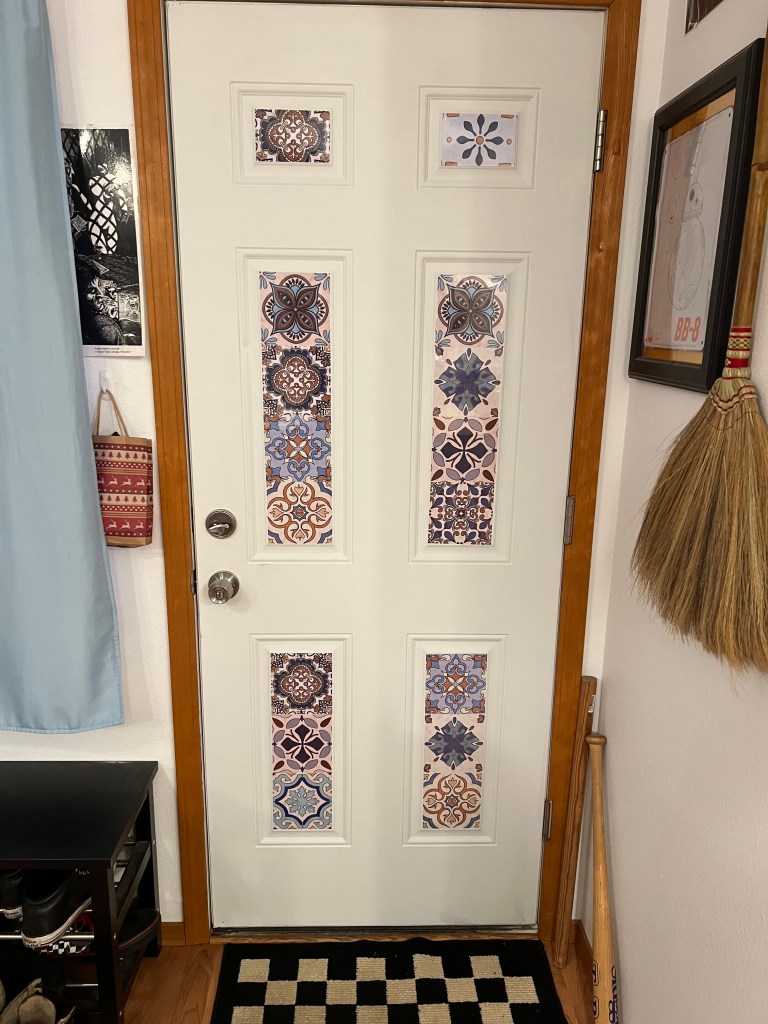
However, I got to thinking about them, and decided to adorn my very white front and back doors with them. I figured it might look nice to have them in the panels of the doors.
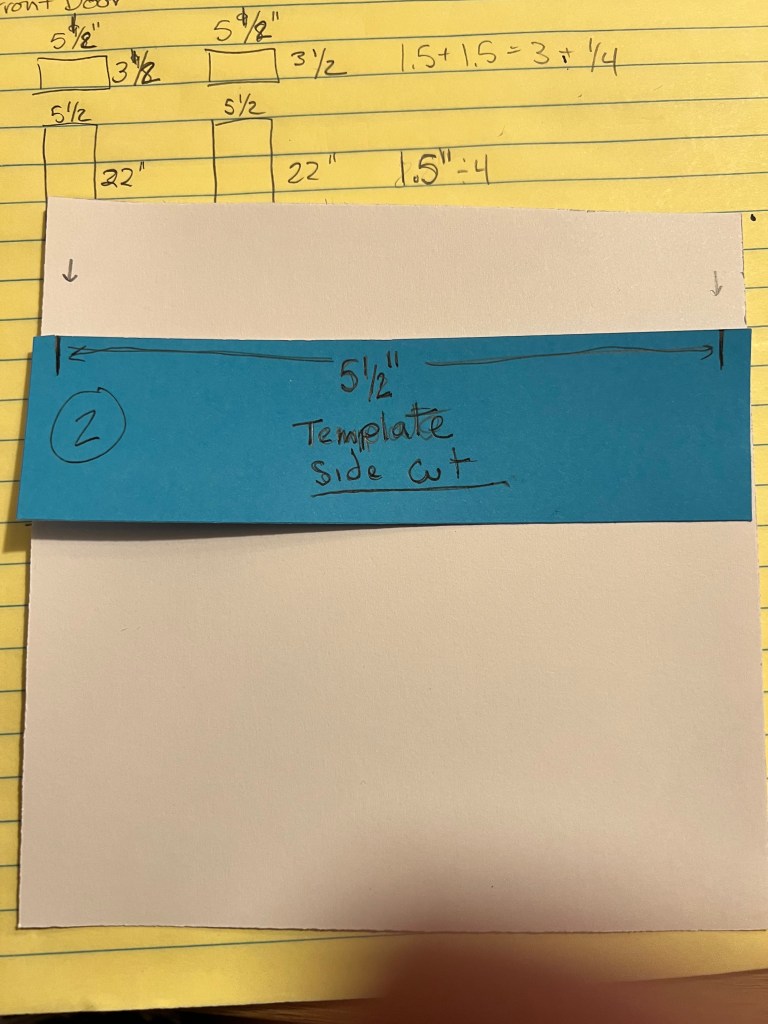
First I measured every panel I wanted to do, in order to make sure every panel’s measurement was what I expected it to be. I like to be thorough on measuring because sometimes things are made off by manufacturers.
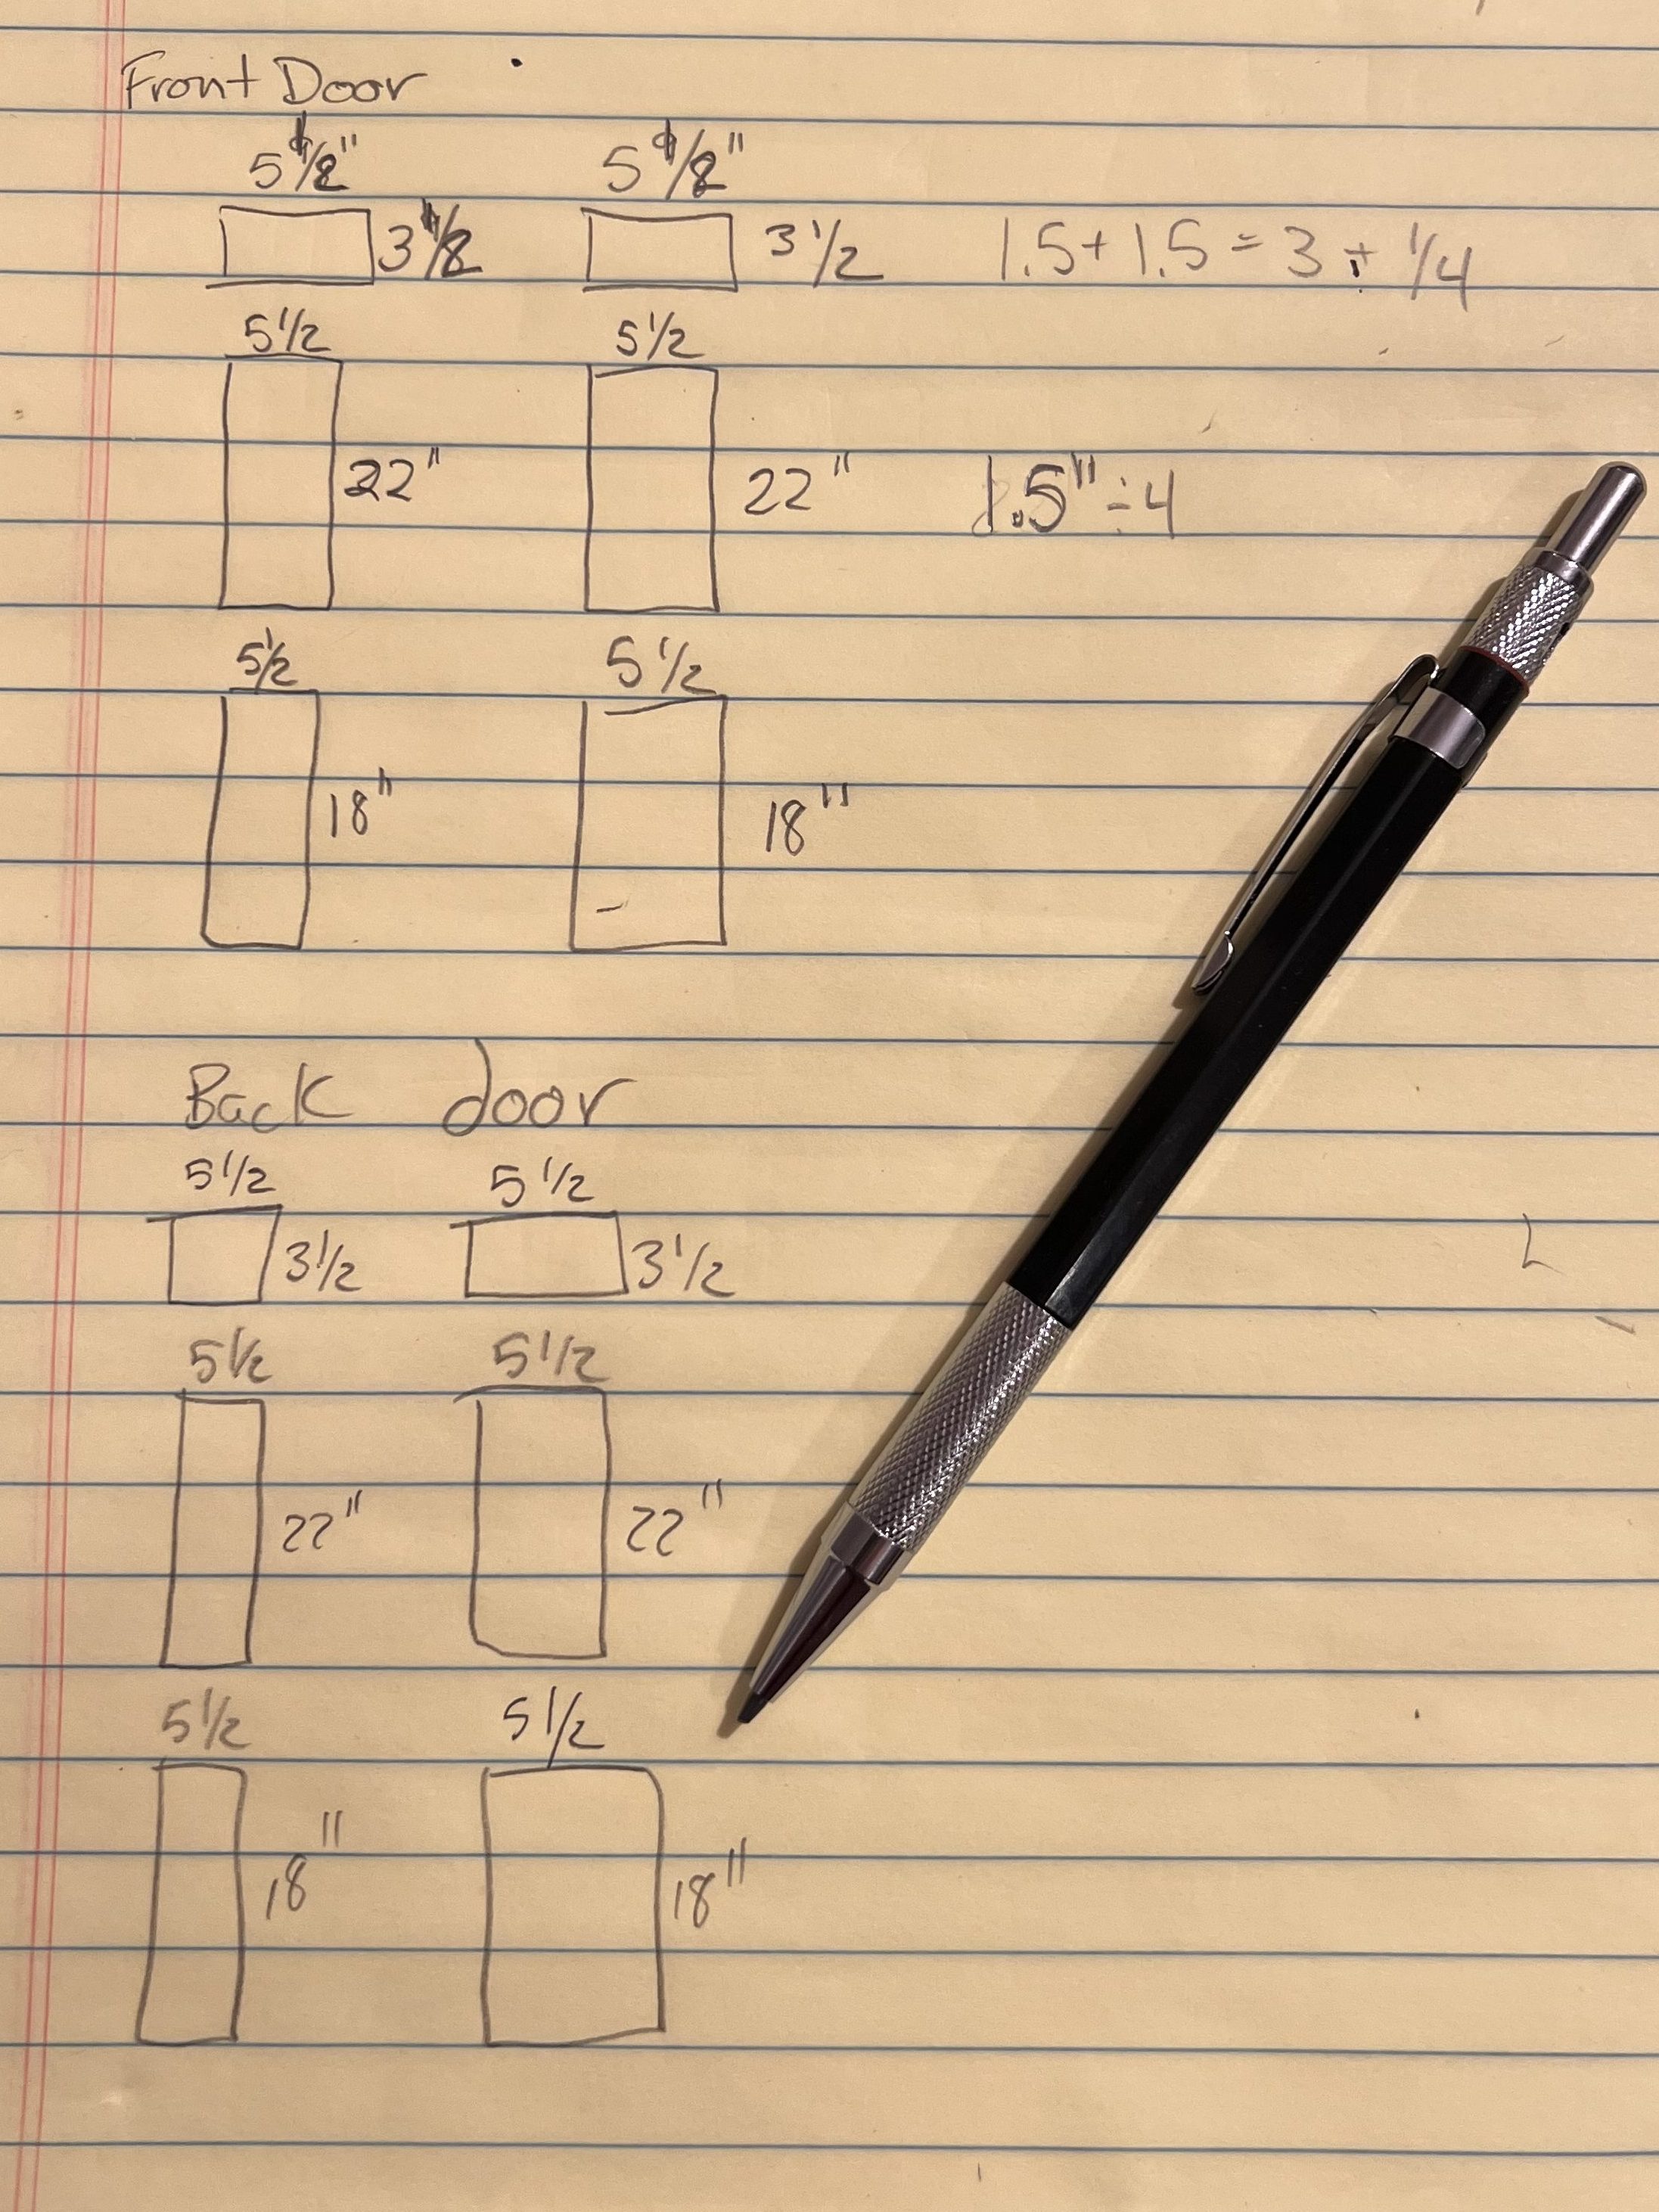
The tiles were supposed to be 6′ square, but they aren’t. They were 5 and 15/16ths. That’s just enough to be annoying.
I then used piece of paper with the size of the sticker tile, and then split how much I needed to take off into 2, and marked each side, so I could take an even amount off of each sticker tile.
I then used a normal Fiskar paper cuter to cut the tiles.

To do the length down in the center panels, it was a little trickier. The center panels were 22″ down, but 4 tiles was 1.5″ longer than that. I divided it by 4 using a fraction calculator online, then divided that by 2, and made another little paper template so I could make marks and cut all four of the tiles, making sure to take the same amount off the top and bottom.
The bottom panel was the opposite problem. It was only 1/4″ longer than the length of 3 tiles, and I did not want to cut down 4 tiles that much. Instead, I just applied those bottom panel tiles 1/8″ lower than the true top, and you couldn’t even tell.
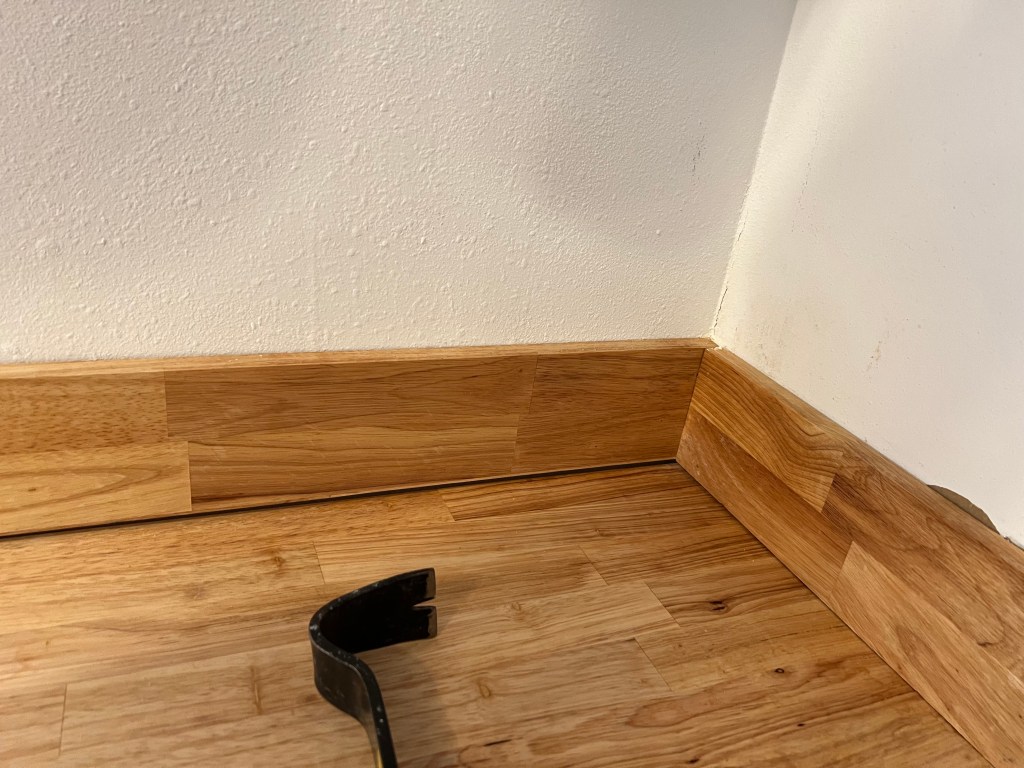
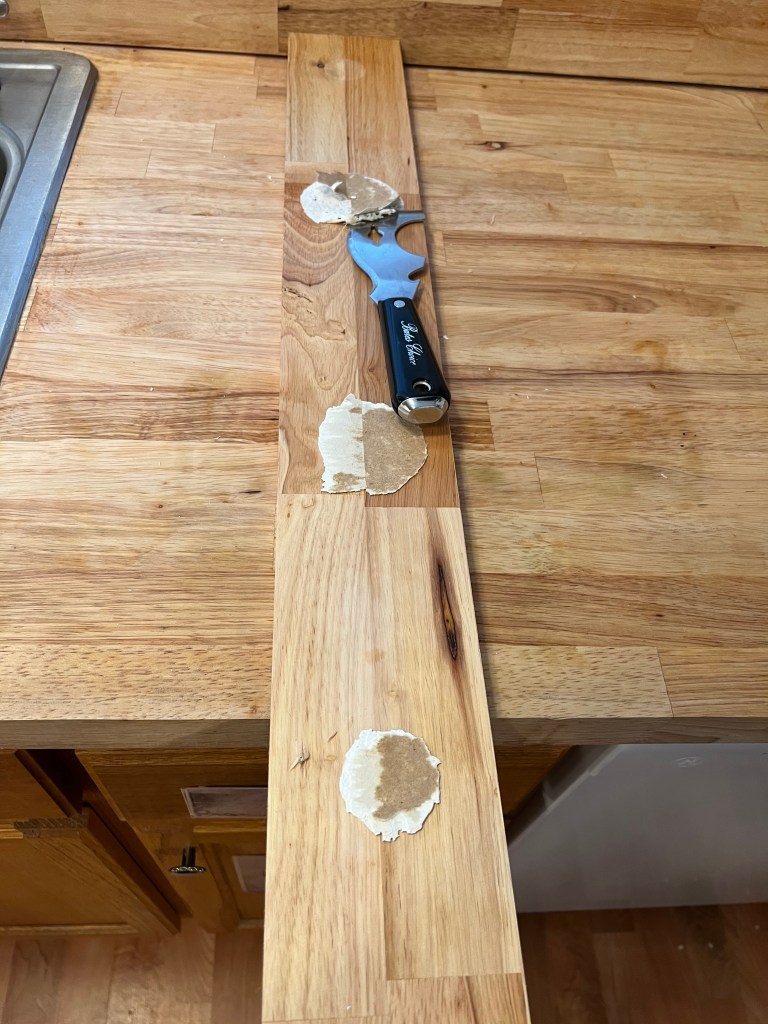
Applying the tiles is similar to applying a Cricut vinyl project. I used a scraper to smooth out the bubbles. The sticker tiles were not especially sticky, and if I had an issue with a bubble they were easy to peal off and do again.
One thing I think was important for me, was to accept that was it was impossible to make it perfect. The tiles slid, and cut funky, and applying them was a little odd from the normal vinyl I was used to. However, with the white door background, you could not tell unless you got nose to door with where there were imperfections.
I think sometimes it’s easy, especially for me, to just give up if I can’t make things mathematically perfect. However the tiles themselves did not have a perfect printing run with some uncentered tiles, so I just went with it, and I am glad I did.
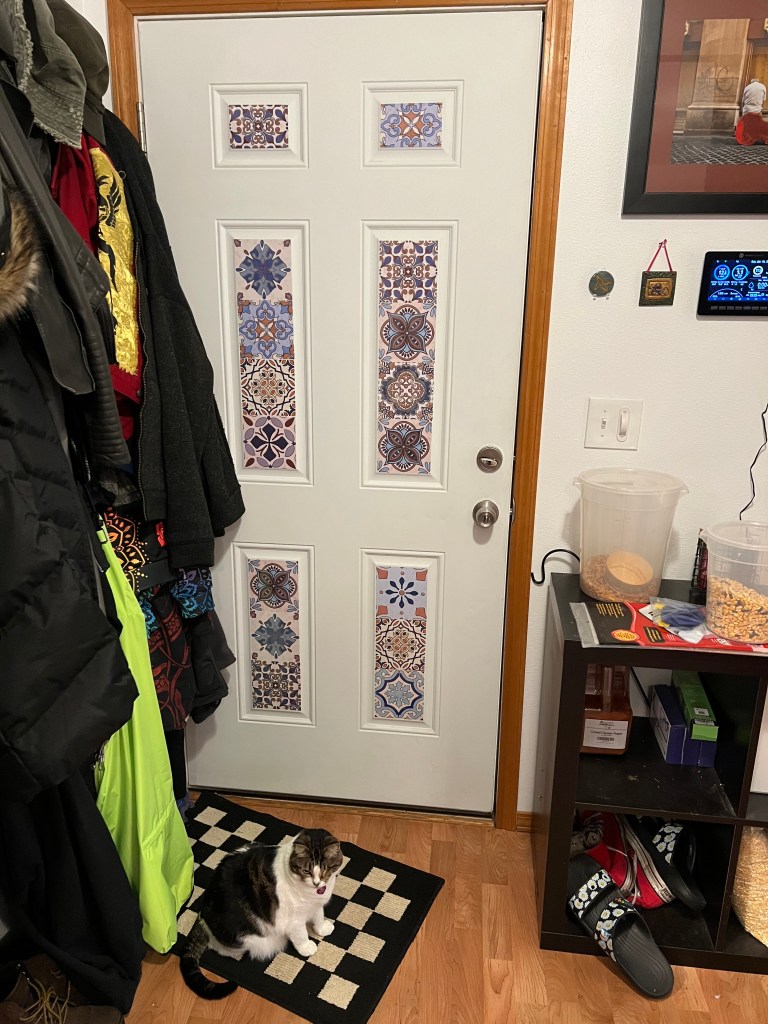
I’m pretty glad I did this. I like it. My home is not a show home, or a “normal” home, but it is my home. I don’t ever plan to leave it, and I want to live in a place that feels good for me. I don’t want plane white doors.
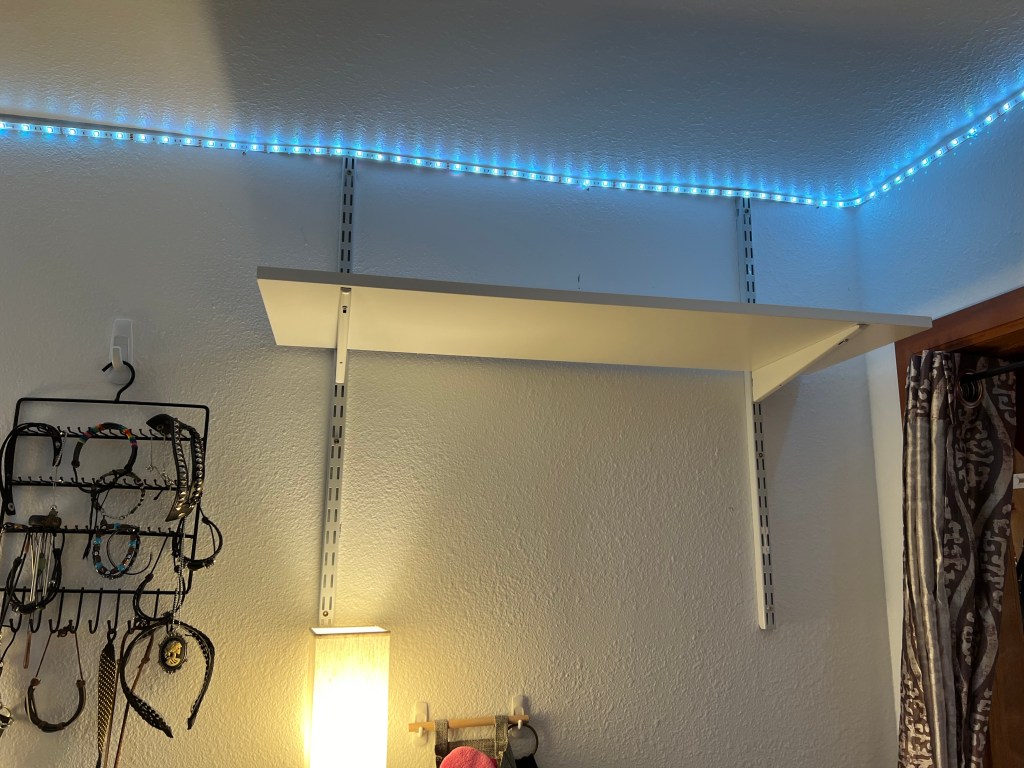
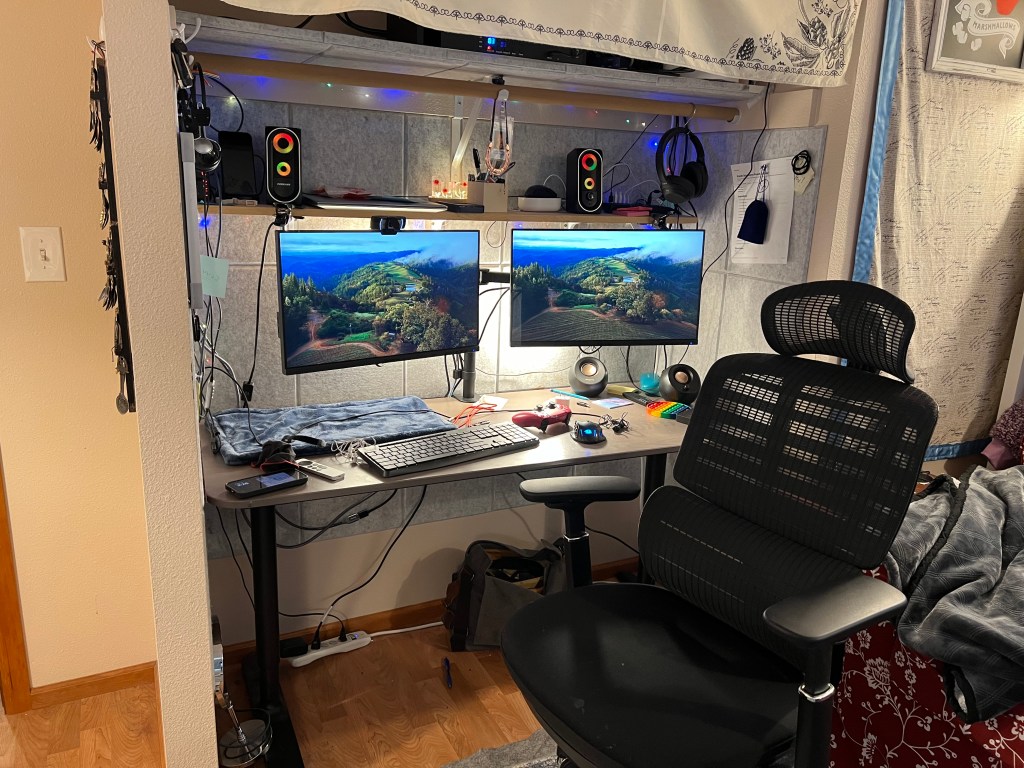
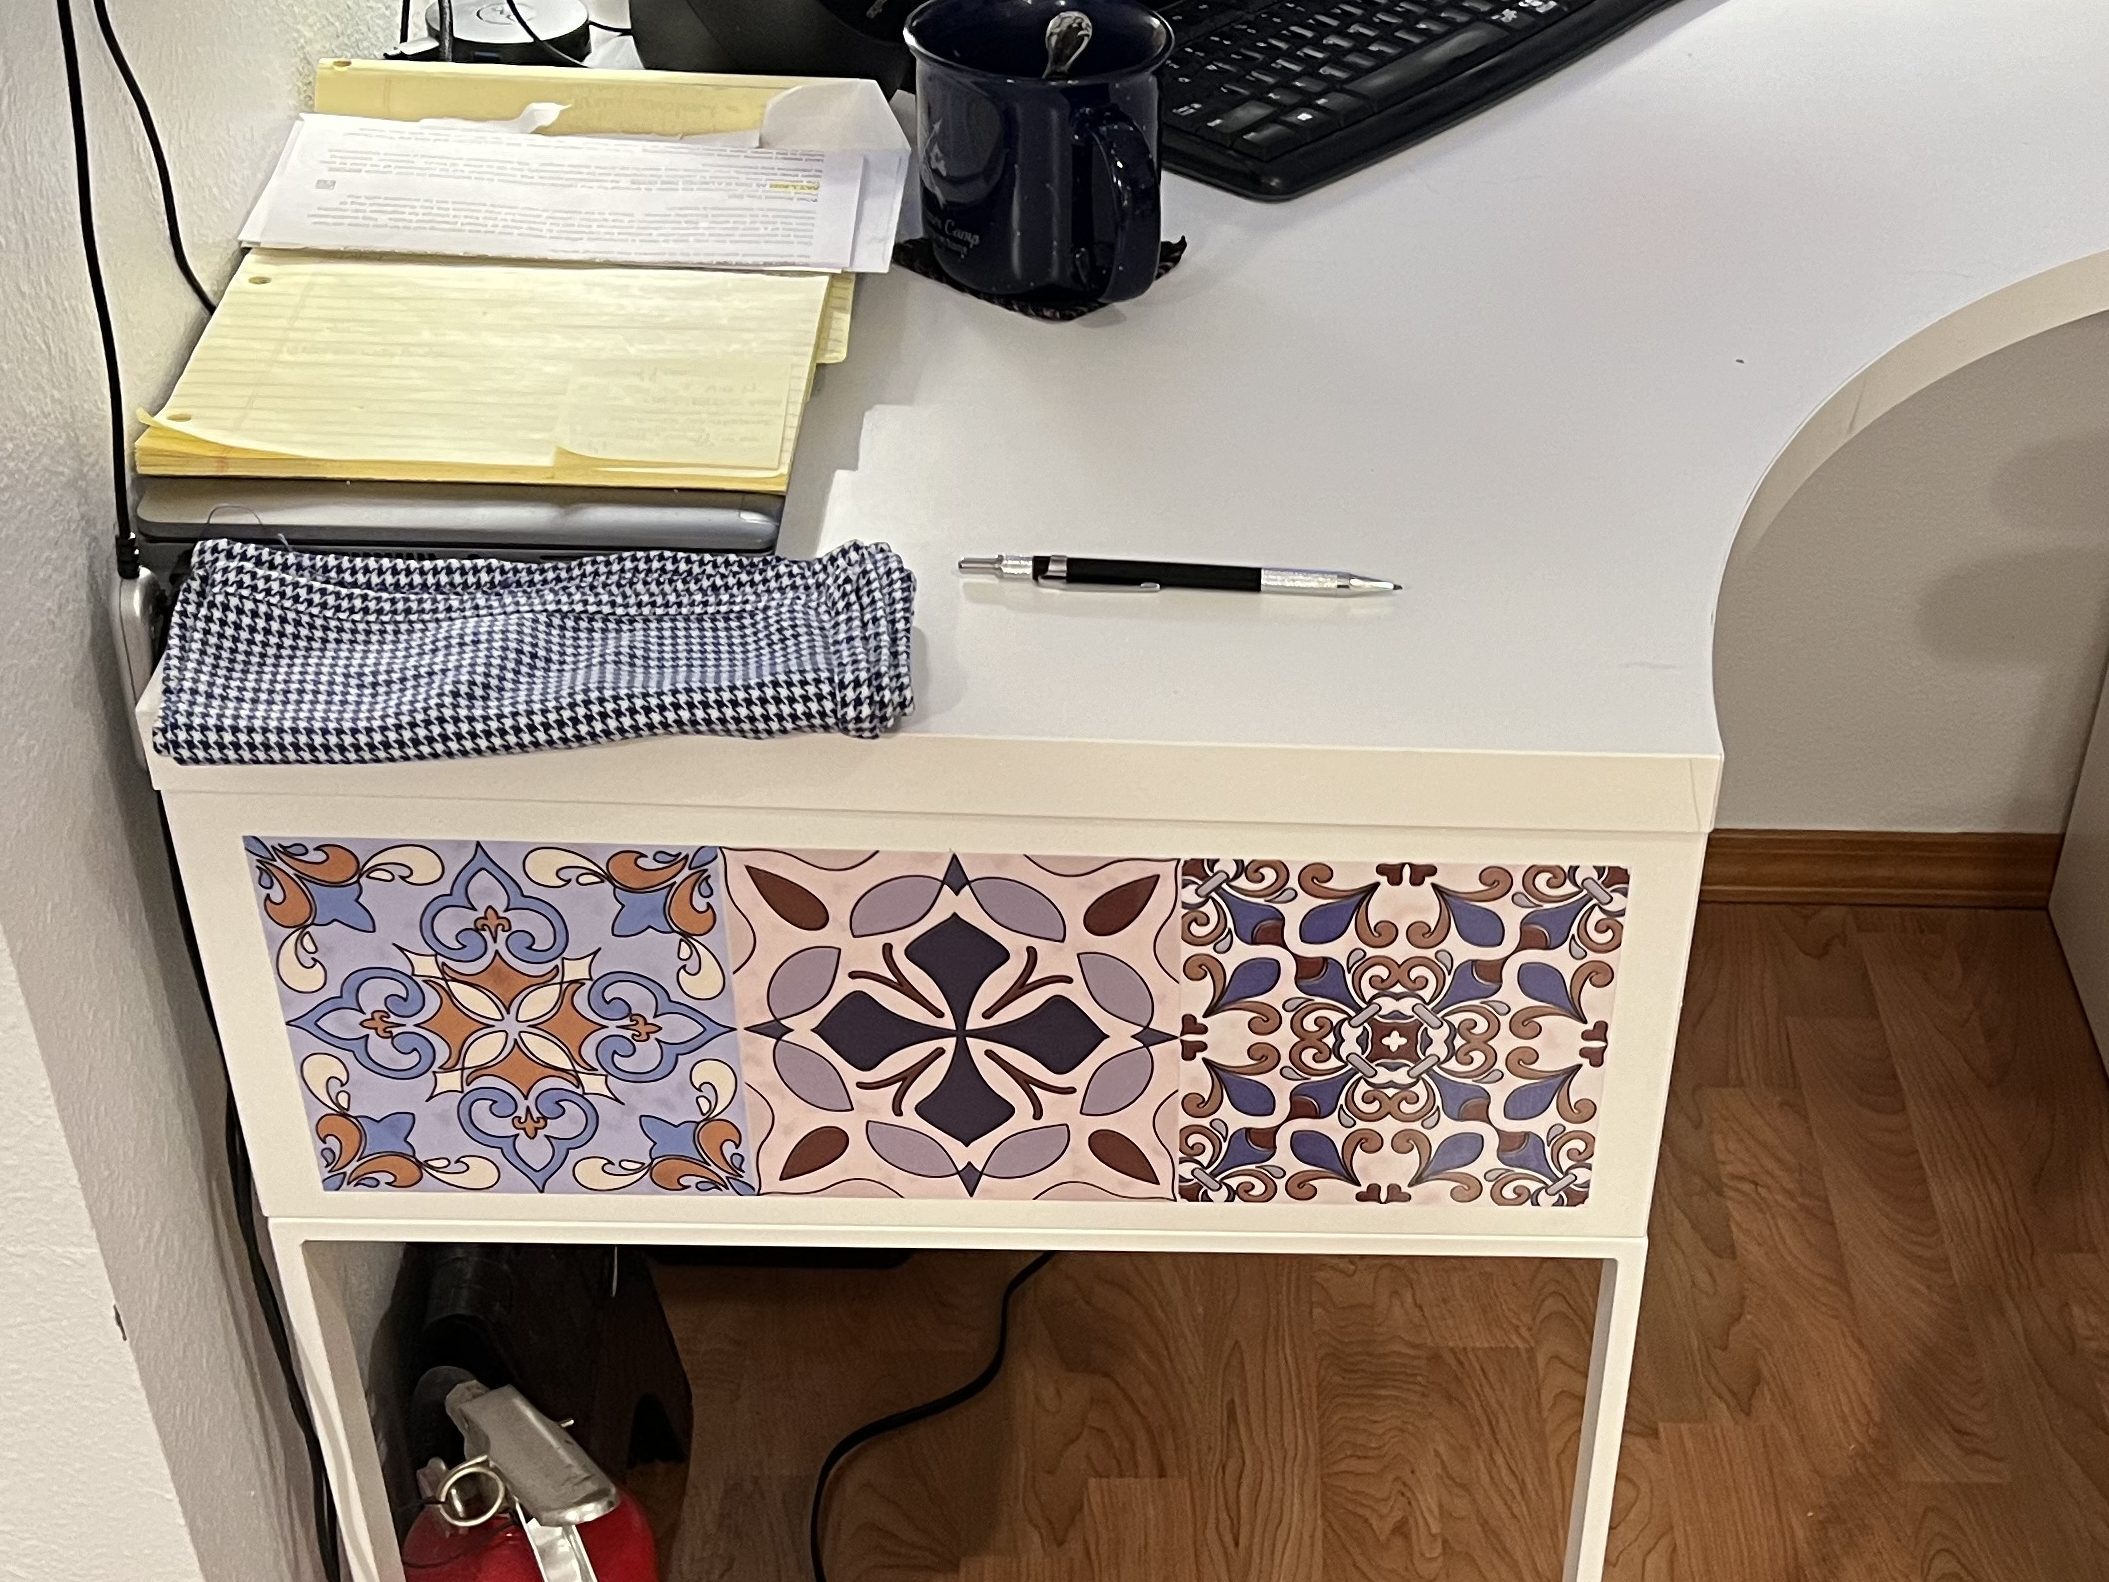
I did have enough extra I added some to my super cheap white IKEA desk, too.
This was a last minute project because I had these stickers and I didn’t want to return them. I am glad I did it. It took me an hour or so, and nothing is better than a project with instant gratification.