Remember that shelf I put up for the router and modem?
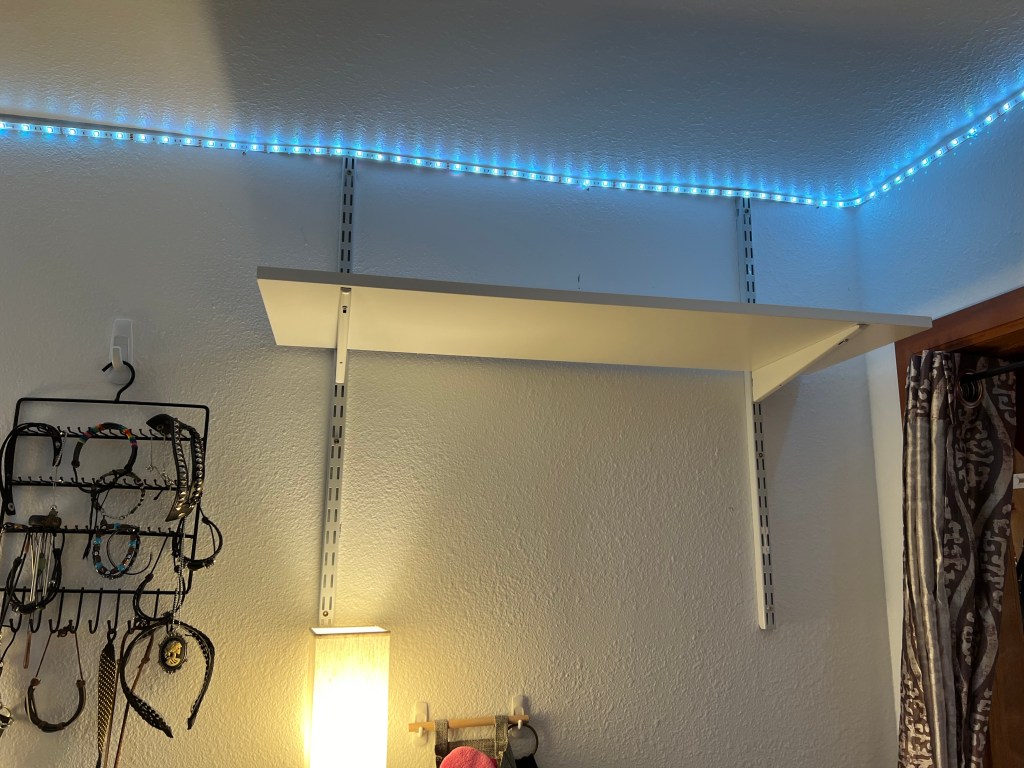
On the exact opposite side of the wall is my wife’s workspace. Our living room is actually the front bedroom in the house as we live in 899 square feet, and it’s not a huge place. My wife has her desk literally in the bedroom closet, and it’s worked out great for soundproofing for her video creation.
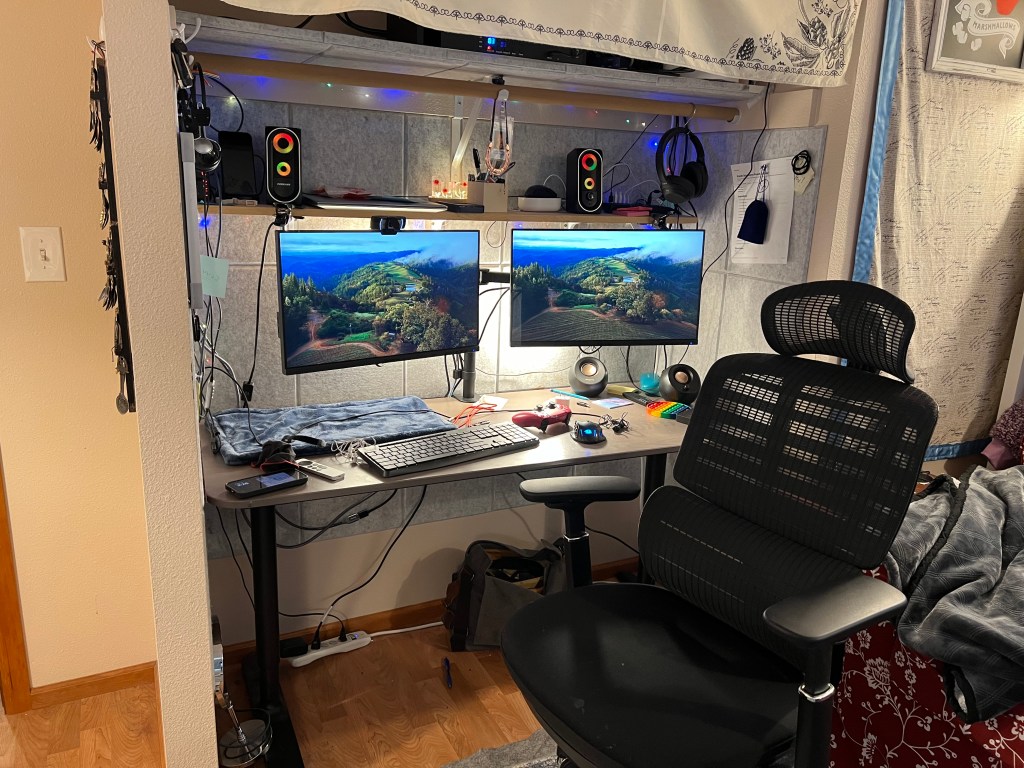
The top shelf is where she keeps her gaming PC, and KVM switch, and all the other wired things. We wanted to punch a hole between the modem and router shelf in that room into the top shelf of my wife’s workspace in our living room.
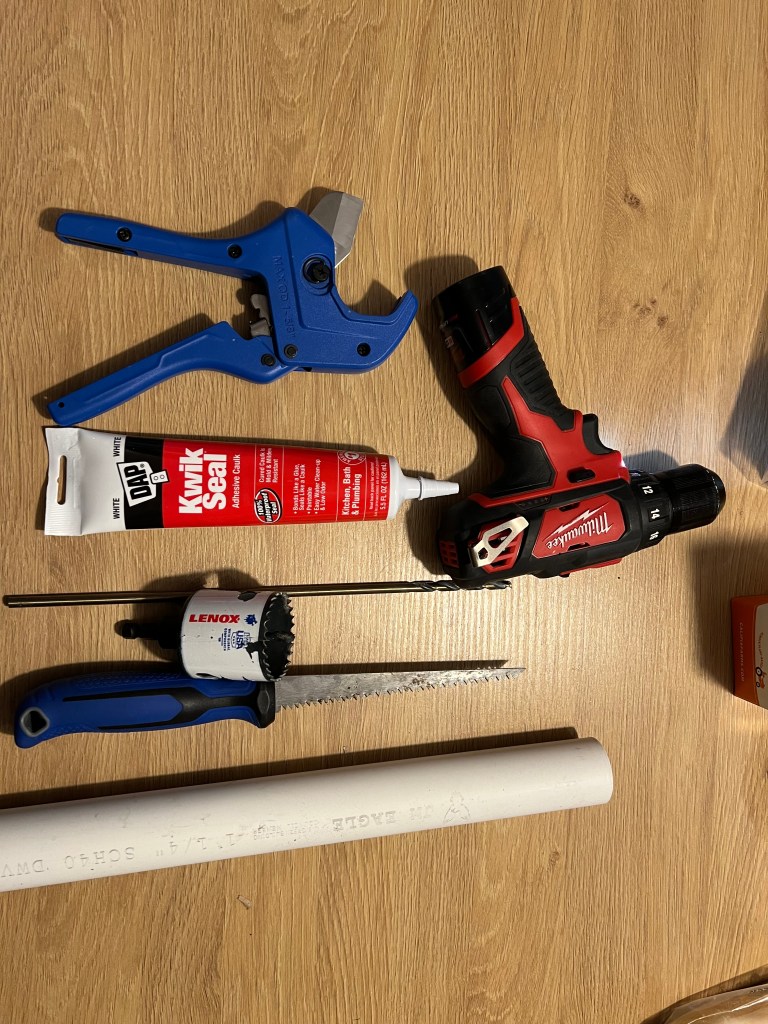
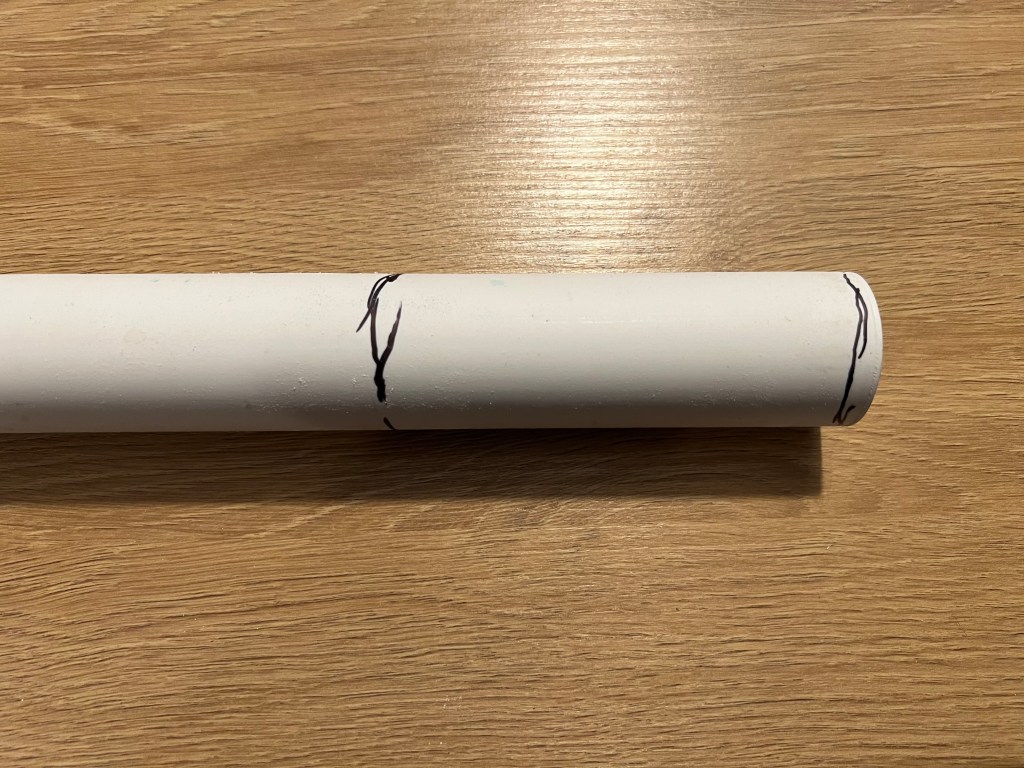
The plan is to use a long drill bit to drill a guide hole, then use that to use a large hole bit to drill into each side, then put in a 1.25″ PVC pipe, cut it off, and use paintable caulk to glue it in. it’s pretty easy, and you don’t need much to do it. PVC is easy to work with, and can be cut with a hand tool, and the drill bits were not expensive.

I knew where the studs were already from hanging the shelves, so I just put the hole along side the stud.
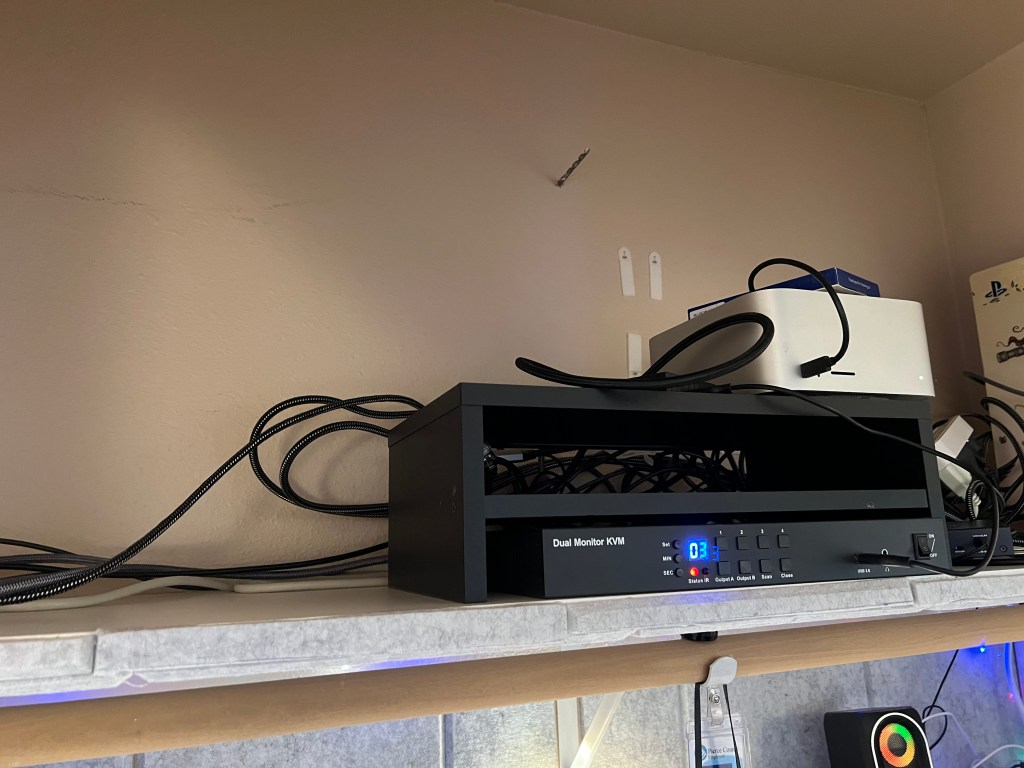
The long drill bit creates the hole so you can use it to line up the hole bit, and it will match on both sides.
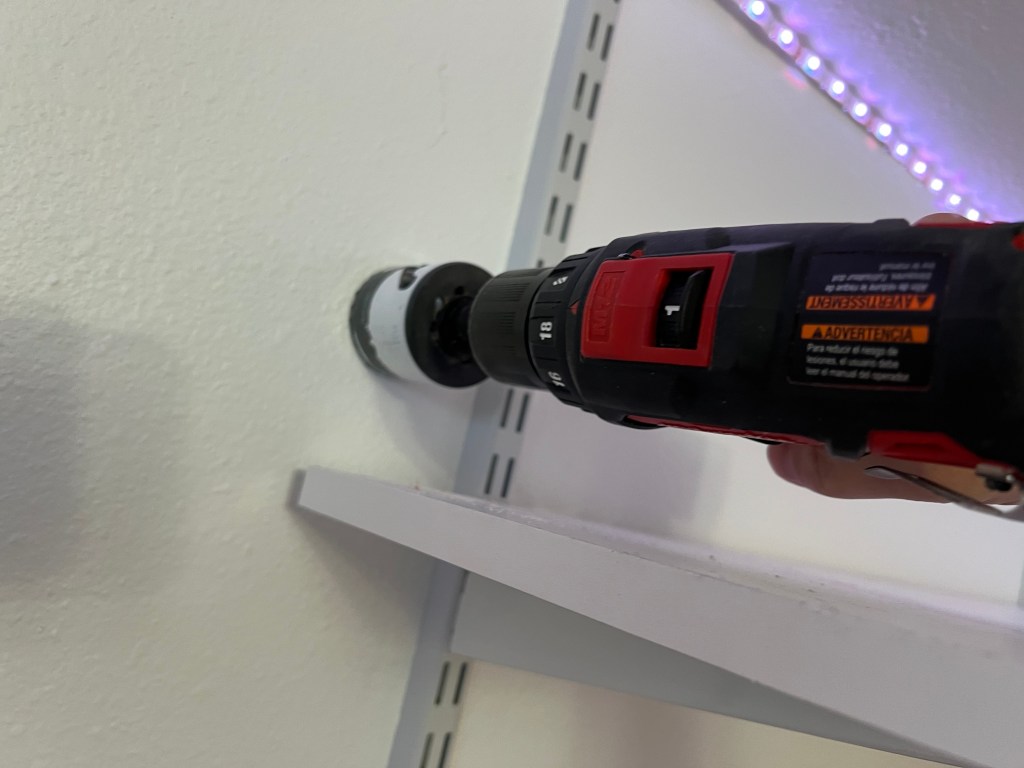
It’s important to drill the hole in from the outside, on both walls. That way if you have any blow out, it will be in the interior of the wall. It just gives a cleaner round hole to work with.
I didn’t want to just have a hole in the sheetrock. I was worried cable and cord movement would degrade the sheetrock in the wall over time and I didn’t like how it looked to just see inside the wall. Not to mention I didn’t need anything important falling into the wall, where I’d have to rip it apart to get it out later.
The PVC pipe was a good solution for me, as it could be just caulked in, and would protect the sheet work, and keep me from dropping anything in the wall.
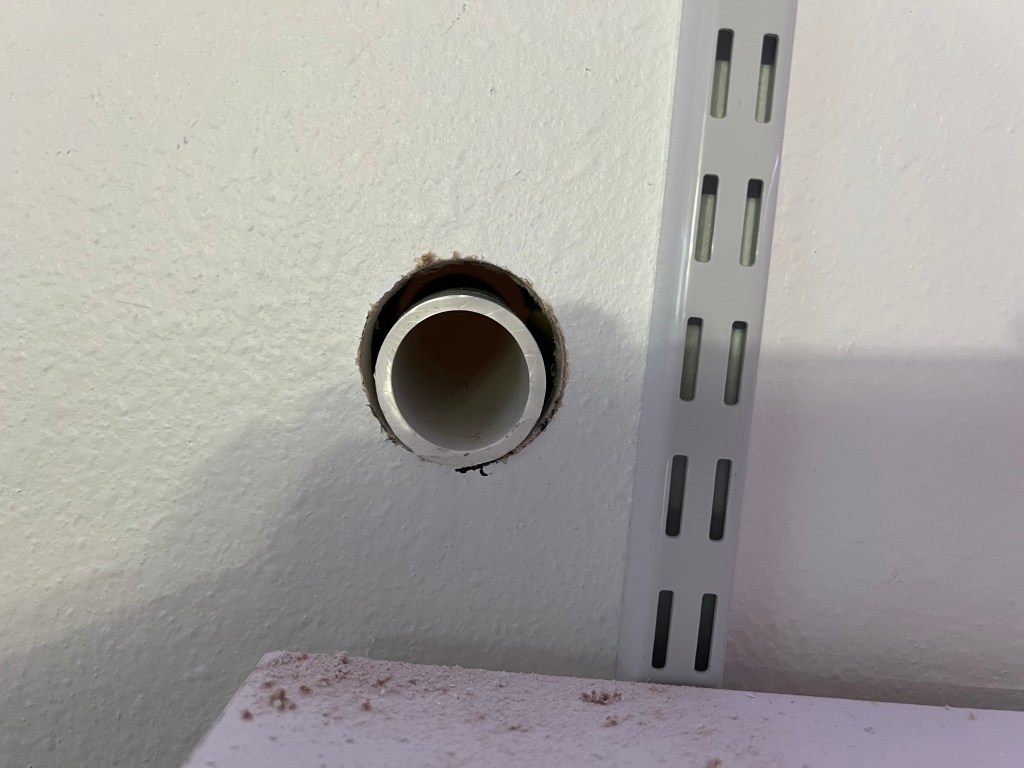
This is where I realized, I had grabbed my larger sized hole saw, and had a full on panic that it would not work well. The last time I did this, I had the exact hole size as the PVC, and it was a bit more slick, but this worked too with enough paintable caulk.

I just caulked it in with a bit of extra caulk. This is still wet in the above picture. It needs sanded down, but I am lazy, and I’ll sand it down when I go to repaint that room.
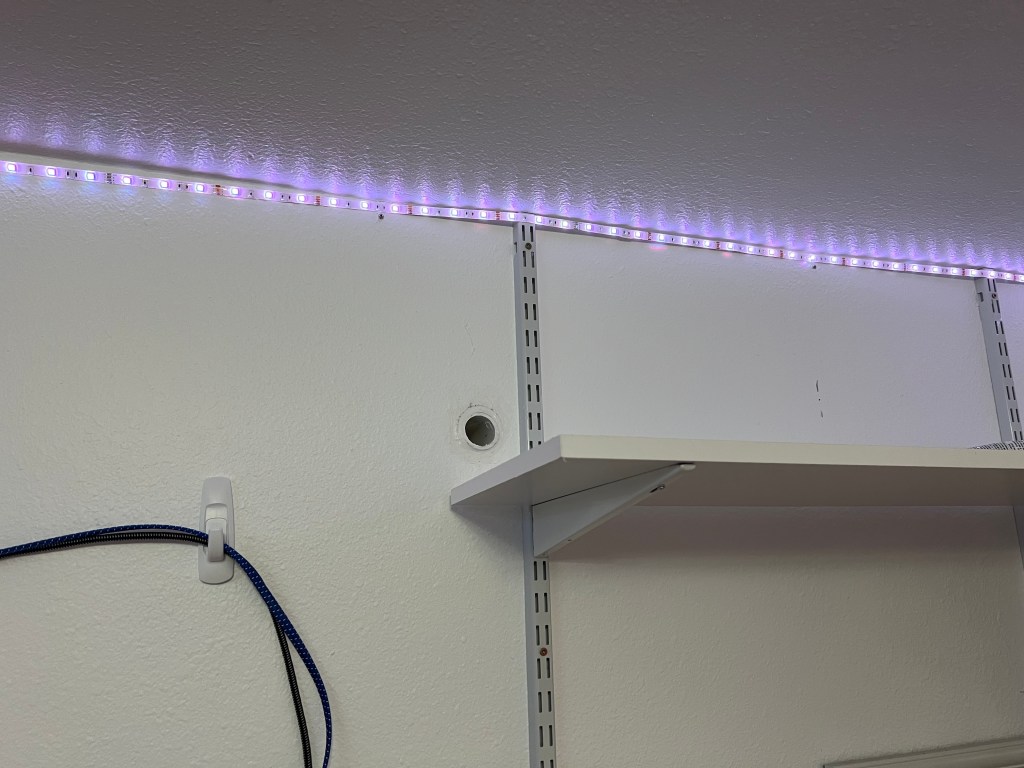
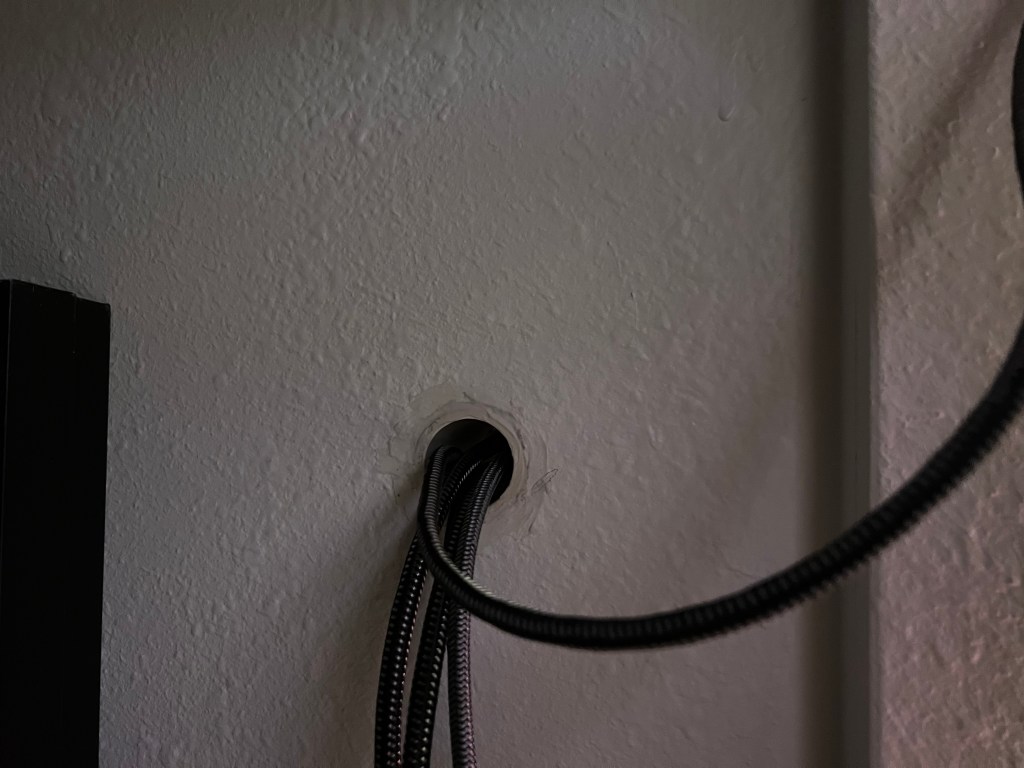
It actually worked out really well. My wife likes to wire her computer gear in instead of using the wifi, so she can now do that without running cables around the doors into the other room.
I know there are some grommets you can buy, but they didn’t extend through the wall and only were on the surface, like a desk grommet for wires. I also have exceptionally thin walls in this circa 1910, so an out of the box solution probably wouldn’t fit my house.
They do need a little sanding and painting, but that’s for another day. I am just happy my wife’s workspace set up and be organized the way she likes it.
